6–8 Week Clinician Led Hamstring Rehab Plan
6–8 Week Clinician Led Hamstring Rehab Plan
The fastest safe recovery from a hamstring strain starts with controlled movement within the first few days, not extended rest. From there, progress through eccentric strengthening and hip-extensor work, then staged sprinting, and only return to sport once you hit objective strength benchmarks like high strength symmetry. Skip a step and you raise your reinjury risk. See a clinician immediately if you can't bear weight or suspect a complete tear.
TL;DR:
- Progressive eccentric exercises are crucial for effective hamstring recovery and help reduce the risk of reinjury, especially when performed at appropriate loads and ranges.
- A thorough early assessment by a clinician can distinguish between mild muscle belly strains and more severe proximal tendon injuries, guiding a safer rehab timeline.
- Use of ice and gentle movement within the first 72 hours, along with pain monitoring and red flag awareness, risks delay and setbacks if not properly managed.
- The full rehab process typically spans 6 to 8 weeks for Grade 1-2 strains, progressing through phases focused on activation, strength, power, and sport-specific drills, with benchmarks guiding return.
- Complete recovery requires objective strength symmetry of at least 90%, pain-free full-speed sprinting, and proper biomechanical mechanics before returning to sport, not just pain resolution.

Table of Contents
- What Is a Hamstring Strain, and How Long Does Recovery Take?
- What Should You Do in the First 48 to 72 Hours?
- How Do the Phases of Hamstring Rehab Work?
- What Exercises Actually Belong in a Hamstring Rehab Program?
- What Are the Benchmarks for Returning to Sport Safely?
- When Should You See a Clinician Instead of Rehabbing at Home?
- What Does a 6 to 8 Week Sample Rehab Program Look Like?
- How Essential ChiroCare Approaches Hamstring Rehab
- A Clinician's Honest Take on Hamstring Rehab
- Ready to Rehab Your Hamstring the Right Way?
- Sources
What Is a Hamstring Strain, and How Long Does Recovery Take?
Your hamstrings are actually three separate muscles: the biceps femoris, semitendinosus, and semimembranosus, all running from your sit bones to just below your knee. A strain happens one of two ways: a sudden, forceful contraction during sprinting (the classic sports injury) or an overstretch during activities like dancing or kicking. The mechanism matters because it predicts how long you'll be out.
Clinicians grade hamstring strains on a three-point scale, and the grade drives everything about your rehab timeline.
- Grade 1 is a mild strain with minor fiber damage. It's often the least disruptive, and some cases may resolve quickly.
- Grade 2 involves partial tearing, more noticeable pain and swelling, and a recovery measured in weeks rather than days.
- Grade 3 is a complete or near-complete tear. This category can take months to heal and sometimes requires surgical repair.
Location changes the math too. Strains near the sit bone, where the tendon attaches (proximal injuries), tend to heal slower than strains in the muscle belly. So do stretch-type injuries, the ones caused by overstretching rather than a sprint. Research on hamstring injury patterns shows these proximal and stretch-type mechanisms are consistently linked to prolonged recovery, and some end up needing a surgical consult rather than a standard rehab for hamstring strain.
This is why a quick assessment in the first few days matters more than people assume. A clinician who can distinguish a Grade 1 muscle belly strain from a Grade 2 proximal tendon injury is giving you a genuinely different roadmap, not just a formality. Guessing at your grade and rehabbing on assumption is one of the most common ways people either undertrain a mild strain into a chronic problem or overtrain a serious tear into a setback.
What Should You Do in the First 48 to 72 Hours?
The old advice was to rest completely and ice aggressively. The updated approach, sometimes called MEAT (Movement, Exercise, Analgesia, Treatment) instead of RICE (Rest, Ice, Compression, Elevation), still leans on ice and protection early, but gets you moving sooner than most people expect.
Here's what actually works in the acute window:
- Protect the area from further strain, but don't go on full bed rest. Short-term crutches or a limp gait pattern for a day or two is fine if weight-bearing hurts.
- Ice for 15 to 20 minutes every 2 to 3 hours while you're awake, according to Mayo Clinic's treatment guidance. This controls pain and swelling without you needing to guess at timing.
- Compression with an elastic wrap can help limit swelling, especially in the first 24 hours.
- Elevate the leg when you're resting to encourage fluid drainage.
- Limit NSAIDs like ibuprofen to a short course, if at all. Some evidence suggests heavy anti-inflammatory use in the first days may interfere with the muscle's own repair signaling, so use them for comfort, not as a rehab strategy.
Pro Tip: Icing controls symptoms, but it doesn't heal tissue. The real fix is pairing ice with gentle movement as soon as pain allows. Total immobilization for more than a few days tends to delay recovery rather than protect it, according to Mayo Clinic's guidance on early management.
Start gentle activation, think slow hamstring sets and pain-free walking, within the first 48 to 72 hours unless you're dealing with red flags. Those red flags include an inability to bear any weight, a palpable gap or dent in the muscle, significant bruising that spreads rapidly, or pain severe enough that sitting is difficult. Any of those means you need a clinician's eyes on it before you touch a rehab program.
How Do the Phases of Hamstring Rehab Work?
Progressive loading is the backbone of modern hamstring rehab. Rather than a single "rest then run" approach, effective programs move through distinct phases, each with its own goal, and each unlocked by hitting specific benchmarks rather than an arbitrary calendar date. Research on hamstring rehabilitation has consistently found that programs emphasizing progressive eccentric, or lengthening, exercises produce faster returns to sport with lower reinjury rates than conventional protocols that rely mostly on static stretching and light concentric work.
Phase 1: Activation and pain control (days 2 through 7 to 10, Grade 1 to 2)
The goal here isn't strength. It's waking the muscle back up and confirming it can contract without alarm signals. You're looking for pain-free isometric holds, comfortable walking, and a gradual reduction in swelling. This phase usually runs about a week for a Grade 1 strain and closer to ten days to two weeks for a Grade 2.
Exercises stay simple: submaximal hamstring sets (a gentle contraction without movement), glute bridges, and light stationary cycling if it's pain-free. You're not chasing a burn. You're confirming the tissue tolerates load at all.
Phase 2: Strength with an eccentric emphasis (roughly weeks 2 through 4)
This is where most rehab programs either succeed or quietly fail. The hamstring's job during sprinting is largely eccentric, it lengthens under load to decelerate the swinging leg just before your foot strikes the ground. If your rehab never trains that lengthening action, you haven't actually rebuilt the capacity the muscle needs on the field.
Practitioners increasingly emphasize lengthening exercises performed at moderate to long muscle lengths over isolated concentric curls, because that pattern more closely matches how hamstrings get injured and how they function in sport. Sliding leg curls, single-leg Romanian deadlifts, and Nordic curl progressions all belong here, introduced in that rough order of difficulty.
Volume matters more than intensity at this stage. Two to three sets of 8 to 12 reps, three to four times a week, is a reasonable starting template. The gating rule for progressing: you should be able to complete a session with pain at or below 3 out of 10, with no increase in pain over the following 24 to 48 hours. If pain climbs above that threshold or lingers, you back off before adding load, not after.
Phase 3: Power and plyometrics (roughly weeks 4 through 6)
Once strength work is pain-free and progressing, you add speed and elastic demand. This is bounding drills, hip thrusts with a faster tempo, and low-amplitude jumps. The hamstring now has to produce and absorb force quickly, which is a very different skill than a slow, controlled eccentric lower.
Trunk and pelvic control belong in this phase too, not as an afterthought. A hamstring doesn't work in isolation. It's part of a chain that includes your glutes, your deep core stabilizers, and even your opposite hip. Weakness or poor control anywhere in that chain forces the hamstring to compensate, which is a well-documented pathway to reinjury. Dead bugs, side planks, and single-leg deadlifts that challenge pelvic stability all reinforce this.
Phase 4: Sport-specific reconditioning (roughly weeks 6 through 8, sometimes longer)
This is where staged running comes in, and it deserves real caution. Early, supervised progression through increasing running speeds is considered fundamental for anyone returning to sprint-based activity, because the top-end speed demand on hamstrings during max sprinting is where most reinjuries happen.
A practical structure: start at a balanced hamstring-to-quadriceps strength ratio of max speed for short distances, capping total high-intensity reps at a conservative number on day one, something like 4 to 6 reps of 20 to 30 meters, then build volume and speed across sessions rather than jumping straight to 90% effort. If pain, tightness, or a change in running mechanics shows up, drop back a stage rather than push through.
- Confirm pain-free strength at the previous phase before adding speed.
- Introduce sprinting at submaximal effort (a balanced hamstring-to-quadriceps strength ratio) with strict volume caps.
- Increase speed in roughly 10% increments across sessions, not within one session.
- Add change-of-direction and sport drills only once straight-line sprinting at 90%+ is pain-free.
- Confirm objective benchmarks (covered below) before full return to competition.
Grade 1 to 2 strains typically move through all four phases in about a month to two months. Grade 3 tears, or anything involving the proximal tendon, often take considerably longer and may not follow this timeline at all without surgical input.
What Exercises Actually Belong in a Hamstring Rehab Program?
Knowing the phases is one thing. Executing the actual movements with good form is what prevents you from re-tearing the muscle three weeks in. Here's the practical breakdown by category.
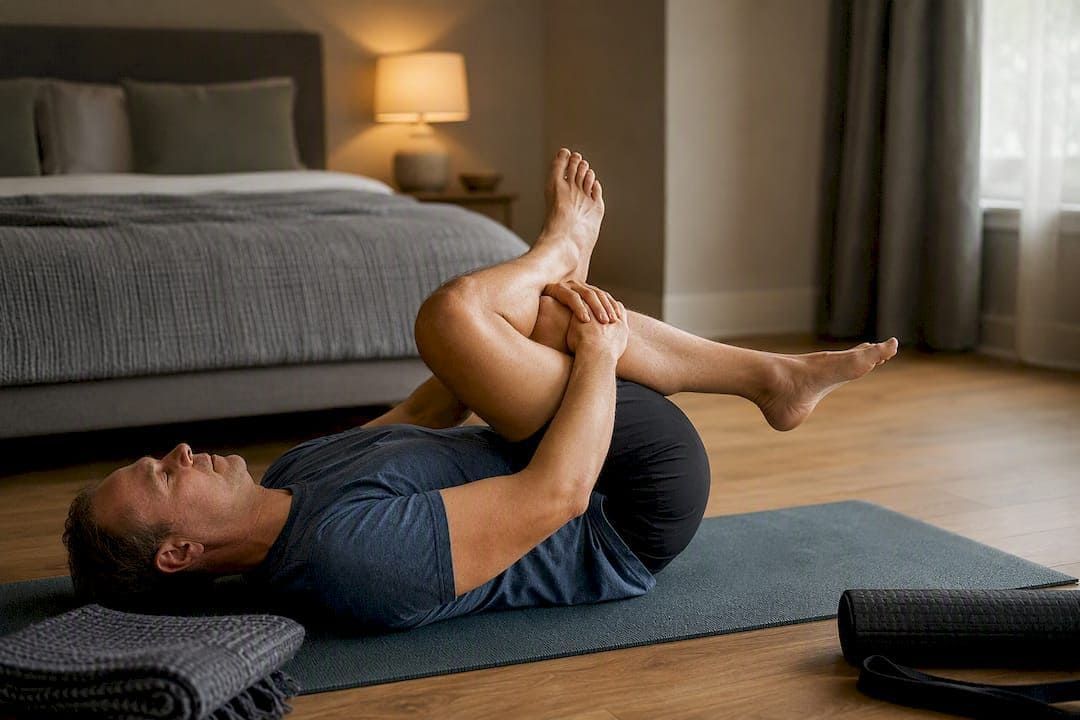
Hamstring sets. Lie on your back with your knee bent slightly, heel dug into the floor or a towel, and gently press your heel down without moving it. Hold 5 seconds, 10 reps, 2 to 3 sets. This is your Phase 1 starting point, and it should never hurt.
Glute bridges. Lie on your back, feet flat, and lift your hips until your body forms a straight line from shoulders to knees. Squeeze at the top for 2 seconds. Start with 2 sets of 10, and progress to single-leg bridges once double-leg feels easy and pain-free.
Single-leg balance. Stand on the injured leg for 30 seconds, progressing to closing your eyes or standing on an unstable surface. This isn't glamorous, but poor balance and proprioception are quietly common in people who reinjure the same hamstring within a year.
Sliders (leg curls). Lie on your back with your heels on sliders or a towel on a smooth floor, knees bent. Slowly straighten your legs, controlling the movement, then curl back in. Start double-leg, 2 sets of 10, then progress to single-leg once double-leg is pain-free at 3/10 or lower.
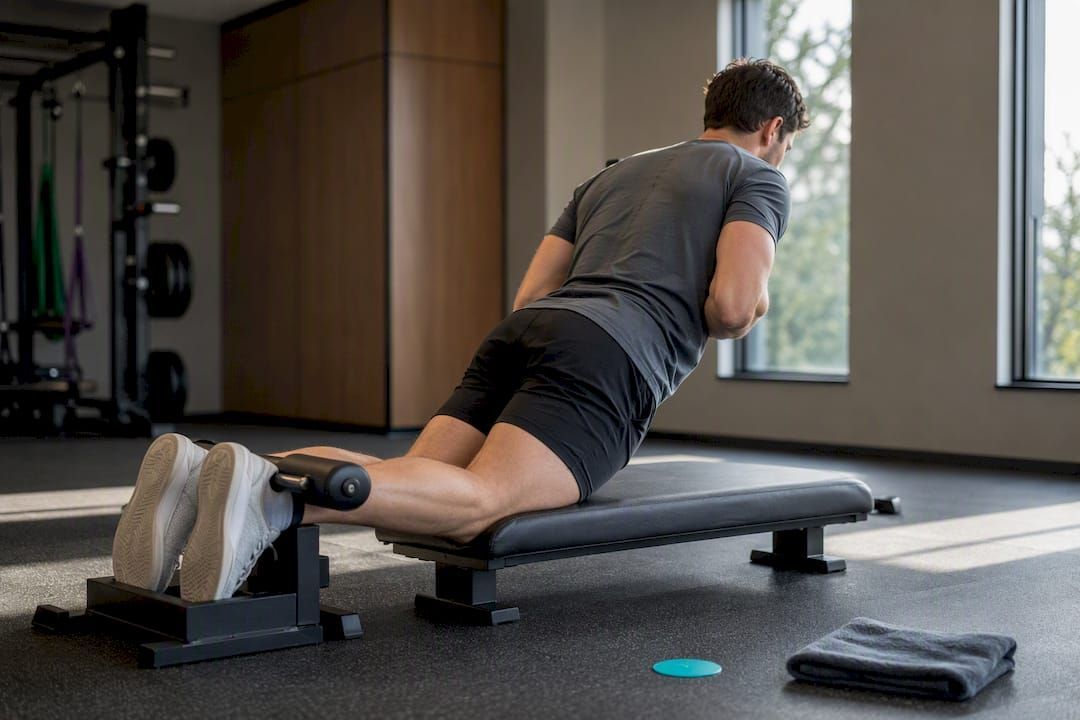
Nordic curl progression. This is the gold standard eccentric exercise, and also the one people rush. Kneel with your ankles anchored (a partner holding them, or a Nordic bench), then slowly lower your torso forward, resisting with your hamstrings, catching yourself with your hands at the bottom. Begin with a partial range of motion, 2 sets of 4 to 6 reps, and only extend the range once you can control the movement without pain.
Romanian deadlift variations. Hinge at the hips with a slight knee bend, lowering a weight (dumbbell, kettlebell, or barbell) while keeping your back flat, feeling the stretch through your hamstrings. Start double-leg with light load, 3 sets of 8, and progress to single-leg RDLs as strength and balance allow. This exercise directly trains the lengthened position where most sprint injuries occur.
Roman chair or back extension, hip extensor focus. Using a Roman chair or cable pull-through, emphasize hip extension rather than lumbar extension. Keep your spine neutral and drive through your glutes and hamstrings. Start with bodyweight, 2 sets of 10, adding cable resistance once form is solid.
Running progression drills. Begin with brisk walking, move to a jog at 50% effort for short distances (100 to 200 meters), then build to stride-outs at 70 to 80%. Cap volume early, something like 6 to 8 reps per session, and only add speed once the current stage is fully pain-free across two consecutive sessions.
Pro Tip: If any exercise causes pain above 3 out of 10, or pain that's still elevated the next morning, that's your signal to repeat the current stage rather than advance. Pushing through isn't toughness. It's how a four-week recovery turns into a four-month one.
What Are the Benchmarks for Returning to Sport Safely?
Pain-free is not the same as ready. This is arguably the single most misunderstood part of hamstring injury recovery, and it's also where objective testing earns its place. Clinicians who base return-to-play decisions on measurable strength data see fewer reinjuries than those relying on how the athlete feels, because pain tolerance and actual tissue capacity are two different things.
The benchmarks that matter most:
- Strength symmetry of at least 90% compared to your uninjured leg, measured through resisted hamstring curls or a handheld dynamometer if your clinic has one.
- Hamstring-to-quadriceps strength ratio that is roughly balanced , which reflects balanced force production around the knee and hip rather than a hamstring that's still lagging behind a stronger quadriceps.
- Pain-free sprinting at full speed , tested over multiple sessions, not just one clean run.
- Symmetrical running mechanics , ideally observed by a clinician or coach, since compensatory stride patterns often persist even after pain resolves.
A simple field test many clinics use: a maximal effort 30 to 40 meter sprint, timed and compared against your pre-injury times or your uninjured leg's output on a single-leg hop test. If your times are within a reasonable range and there's no hesitation or altered mechanics, that's a good sign. If you're visibly favoring the leg, you're not there yet regardless of what the stopwatch says.
Psychological readiness deserves a mention too. Athletes who report lingering fear of reinjury, sometimes called kinesiophobia, tend to move differently even when their strength numbers check out. If you're hesitating at top speed, that hesitation itself is useful information, not something to push through.
Once you're cleared, maintenance work doesn't stop. Continuing eccentric exercises like sliders or Nordics once a week, along with ongoing trunk and pelvic control work, is what keeps a rehabbed hamstring from becoming a recurring one. The kinetic chain, meaning your trunk, pelvis, and even your opposite leg, plays a real role in preventing the compensatory patterns that lead to repeat injuries down the line.
When Should You See a Clinician Instead of Rehabbing at Home?
Most Grade 1 hamstring strains, and many Grade 2s, respond well to home-based rehab combined with occasional clinical check-ins. But certain presentations need professional eyes right away, not after a week of waiting to see if it improves.
Seek evaluation promptly if you notice any of the following:
- You can't bear weight on the leg at all, or only with significant pain.
- There's major swelling or bruising that develops quickly, especially with a visible or palpable gap in the muscle.
- Sitting is genuinely painful, which can point toward a proximal tendon injury near the sit bone.
- You heard or felt a pop at the moment of injury.
- Symptoms aren't improving, or are worsening, after 5 to 7 days of appropriate care.
Presentations involving a suspected proximal tendon avulsion, particularly with more than 2 centimeters of tendon retraction on imaging, often warrant a surgical consult rather than standard physical therapy. This is a case where most partial tears heal with conservative rehab, but complete tendon avulsions frequently require surgical repair to restore full function.
If you're referred for imaging, an MRI is the standard tool for grading tear severity and pinpointing location. From there, care often involves a team: a physical therapist or chiropractic rehab provider for movement retraining, a sports medicine physician for diagnosis and imaging referrals, and orthopedics if surgery becomes part of the conversation. When you book that first appointment, bring a clear timeline of when and how the injury happened, note what movements aggravate it, and mention any prior hamstring issues on that same leg. That history speeds up an accurate diagnosis considerably.
What Does a 6 to 8 Week Sample Rehab Program Look Like?
This is a general framework for a Grade 1 to 2 hamstring strain, meant to be adapted with a clinician rather than followed blindly. Progression depends on how your body responds, not the calendar.
- Weeks 1 to 2: Prioritize pain control and gentle activation. Ice per the 15 to 20 minute protocol, walk normally as tolerated, and begin hamstring sets, glute bridges, and double-leg sliders. Progress only when each exercise is pain-free at 2 to 3/10 or lower.
- Weeks 3 to 4: Shift toward single-leg loading. Add single-leg sliders, begin Nordic curls at partial range, and introduce double-leg Romanian deadlifts with light load. Start 50% effort jogging in short bouts if walking and Phase 2 exercises are pain-free.
- Weeks 5 to 6: Increase eccentric intensity. Progress Nordic curls toward fuller range, move to single-leg RDLs, and add plyometric basics like low bounding. Advance running to 70 to 80% effort with capped volume.
- Weeks 7 to 8: Test full-speed sprinting, sport-specific cutting or kicking drills, and formal strength testing against your uninjured leg. Return to competition only once you meet the high strength symmetry benchmark.
| Checkpoint | What to confirm before advancing |
|---|---|
| End of Week 2 | Pain-free walking; hamstring sets and bridges at 2/10 pain or less |
| End of Week 4 | Single-leg sliders pain-free; jogging tolerated without next-day soreness |
| End of Week 6 | Nordic curls near full range; running at 70–80% effort without pain |
| End of Week 8 | High strength symmetry; pain-free full-speed sprint and sport drills |
Stop and reassess at any point if pain spikes above 3/10 during exercise, if you feel a new sharp pain during running, or if swelling returns after a session that had previously been pain-free. Those are signs you've progressed faster than the tissue can tolerate, not signs to grit through.
How Essential ChiroCare Approaches Hamstring Rehab
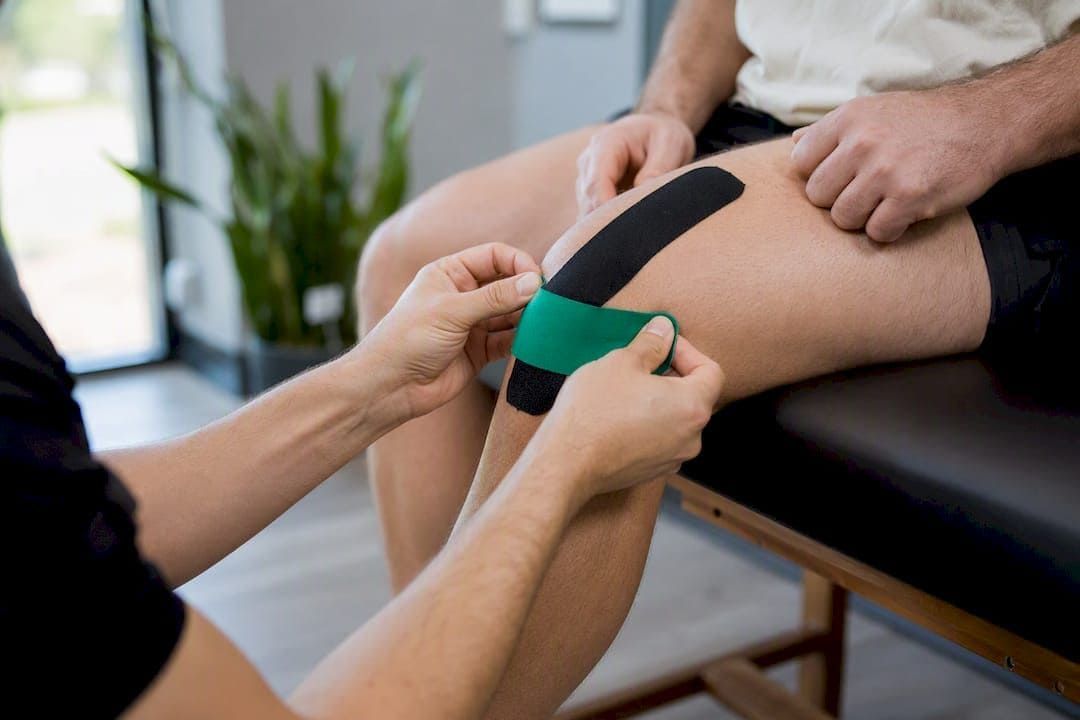
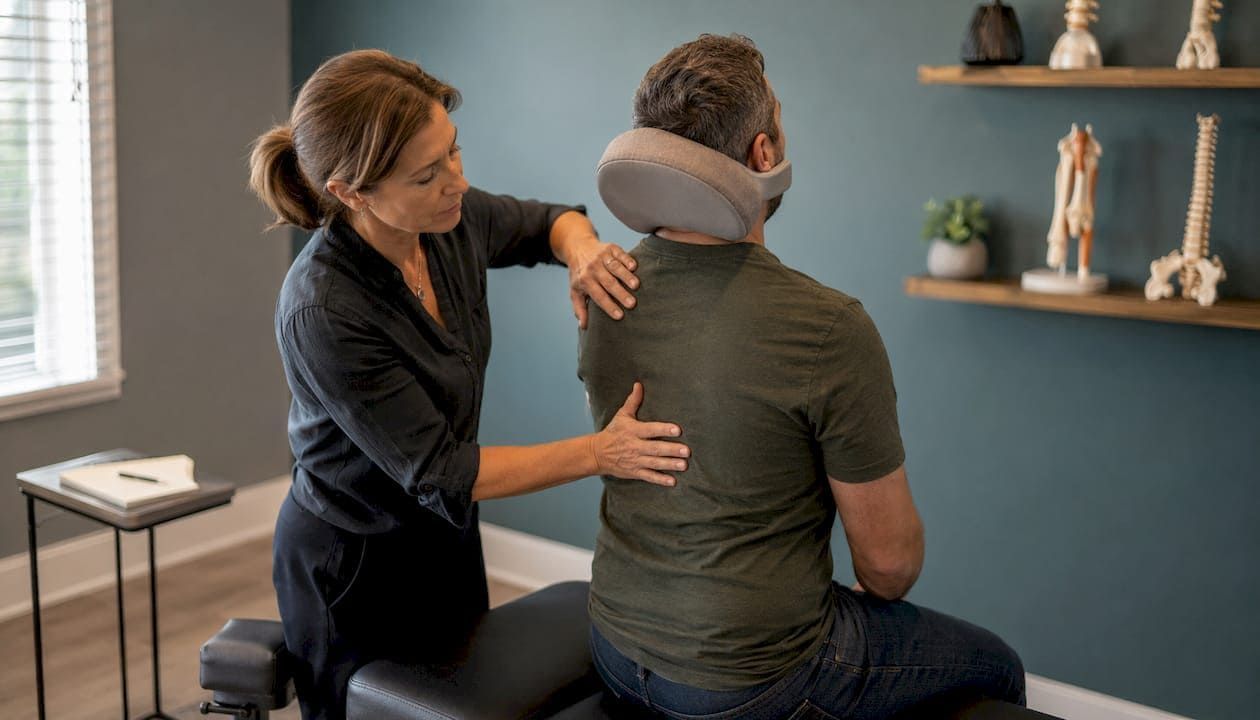
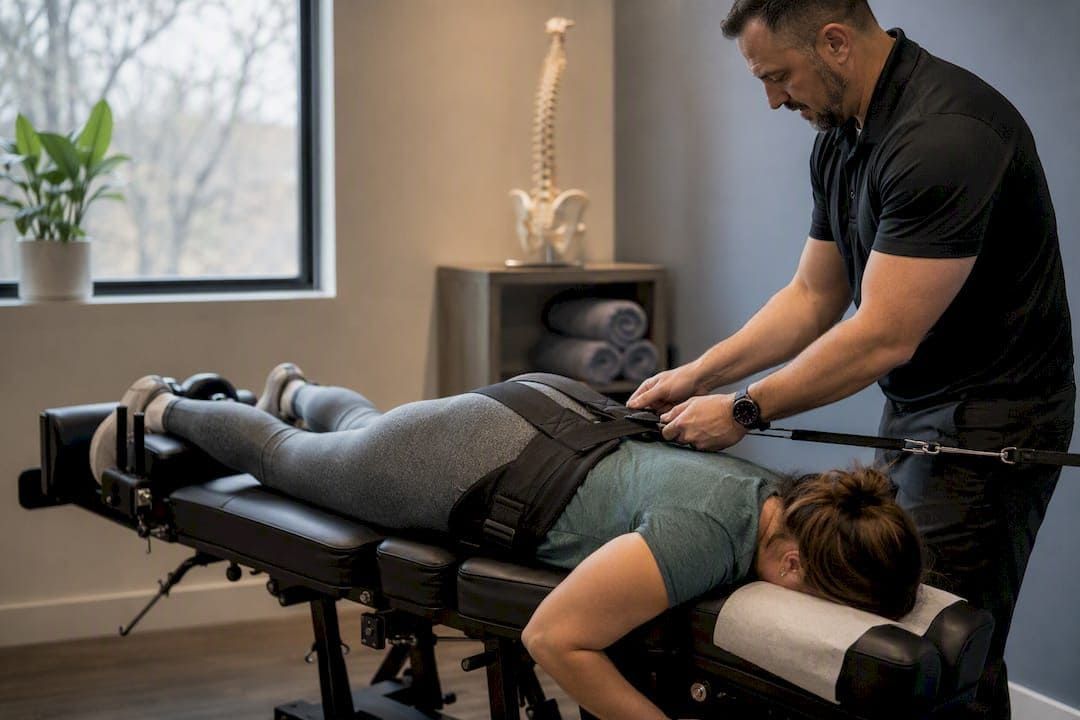
At Essentialchirocare, hamstring strains get treated the way the evidence suggests they should: with an individualized plan built around your specific grade, mechanism, and sport, not a generic handout. Our physical rehab services combine progressive loading protocols with hands-on manual therapy to address both the injured muscle and the surrounding kinetic chain issues that often go unaddressed elsewhere.
Doctors on our team bring sports team backgrounds to the table, which matters when you're trying to get back to competitive play rather than just walking pain-free. Our sports injury care integrates the same phase-based structure outlined above, adapted to your test results and your sport's specific demands.
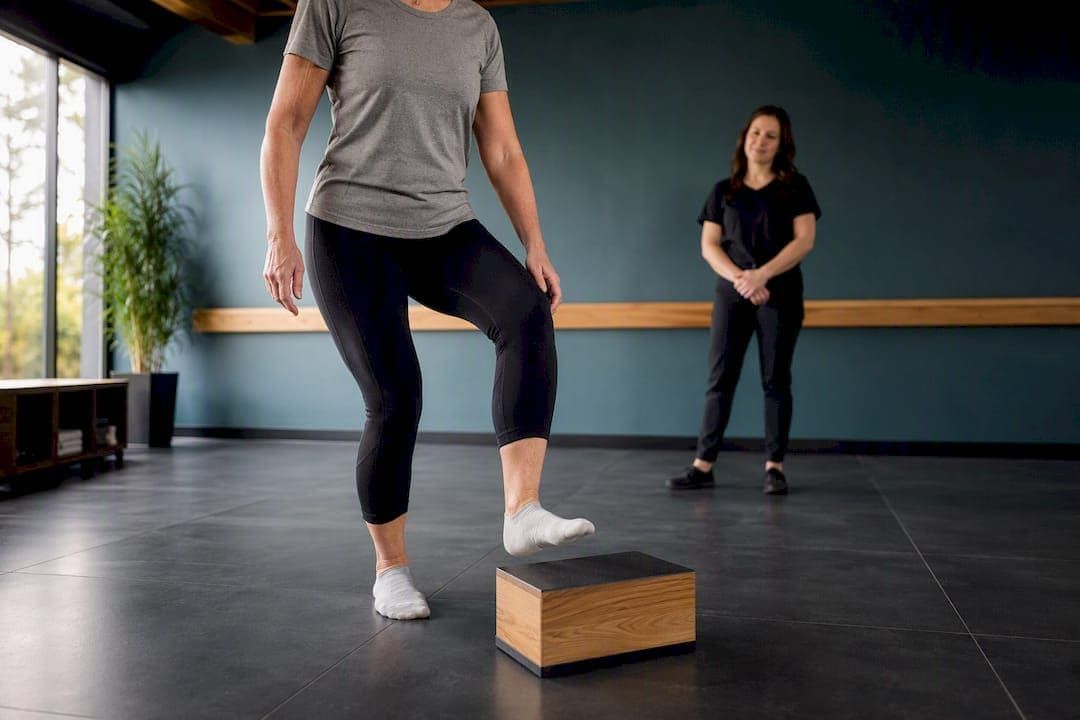
At an initial visit, expect a thorough movement assessment, strength testing to establish your baseline, and a discussion of your timeline and goals. Bring notes on how the injury happened and any prior hamstring issues. From there, we build a progressive plan and adjust it session by session based on how you're actually responding, not a fixed calendar.
A Clinician's Honest Take on Hamstring Rehab
The biggest mistake in hamstring rehab isn't rushing back too soon; it's stopping too early because pain went away. Pain-free walking at week two feels like recovery, but it's rarely proof the muscle can handle a 90% effort sprint. That gap between "feels fine" and "is actually strong" is where most reinjuries live.
The second mistake is skipping the eccentric work because it's uncomfortable and slower to show results than simple stretching. Nordic curls and slider progressions demand patience, and they're less satisfying than a quick pain-relief fix. But the evidence on lengthening exercises is consistent enough that skipping this phase isn't a shortcut. It's a setup for the same injury six weeks later.
If you're unsure which grade you're dealing with, or whether your current program is actually progressive rather than just repetitive, get evaluated. A clinician can tell you things a symptom checklist can't.
Ready to Rehab Your Hamstring the Right Way?
Rehabbing a hamstring strain alone means guessing at your grade, guessing at your progression speed, and hoping your form on a Nordic curl is actually correct. Essentialchirocare replaces that guesswork with supervised, individualized care: a real strength assessment, a phase-based plan matched to your injury, and hands-on adjustments along the way instead of a printout you're left to interpret on your own.
Our physical rehab program is built specifically around progressive loading protocols like the ones outlined here, and our doctors' sports team backgrounds mean they've managed this exact injury in athletes who needed to get back to competition, not just back to walking comfortably. If you're dealing with a hamstring strain right now, or you're not sure whether it's a Grade 1 or something that needs imaging, schedule an evaluation at one of our West Central Florida locations and get a plan built around your actual test results, not a generic timeline.
Sources
This guide draws on established clinical protocols rather than opinion. The core references worth reading directly:
This article is general information, not a substitute for advice from a qualified doctor. Consult a qualified healthcare professional about your own circumstances before acting on anything here.
Recommended