Hip Bursitis Exercises: An 8–12 Week Plan That Builds Safely
Targeted, progressive strengthening of the hip abductors and gluteal muscles is the evidence-backed first-line approach for hip bursitis, also known as greater trochanteric pain syndrome (GTPS). Most effective programs run 8 to 12 weeks and start with simple moves like glute bridges, clamshells, and side-lying leg raises. If pain worsens, spreads, or starts limiting how you walk or climb stairs, that's your signal to get it checked rather than push through.
TL;DR:
- If side lying irritates the hip, begin with isometric holds, pelvic tilts, or gentle bridges before adding clamshells and leg raises.
- Add bands for 3 sets of 8 to 12 reps during weeks 4 to 8, then try step ups if pain stays stable.
- Most programs last 8 to 12 weeks, with daily exercise or sessions every other day; supervised plans commonly include 4 to 14 visits.
- Mild discomfort can occur, but reduce range or switch to isometric holds if pain sharpens, worsens during exercise, or remains aggravated afterward.
- Avoid lying on the painful side, prolonged leg crossing, deep squats, and impact exercise; use a knee pillow and try cycling or swimming instead.

Table of Contents
- Practical Exercises to Start Today
- Progressing Safely Without Flaring Up the Bursa
- Stretches That Complement Your Strength Work
- Movements That Make Hip Bursitis Worse
- An 8 to 12 Week Plan You Can Follow at Home
- When Home Exercise Isn't Enough
- Why We Favor Rehab Over Quick Fixes
- Getting Guided Support for Your Hip Bursitis Recovery
- FAQ
- Sources
Practical Exercises to Start Today
Hip bursitis exercises work best when they build the gluteal muscles that support the hip joint and protect the bursa from repeated friction. Start with these, using slow, controlled reps rather than speed.
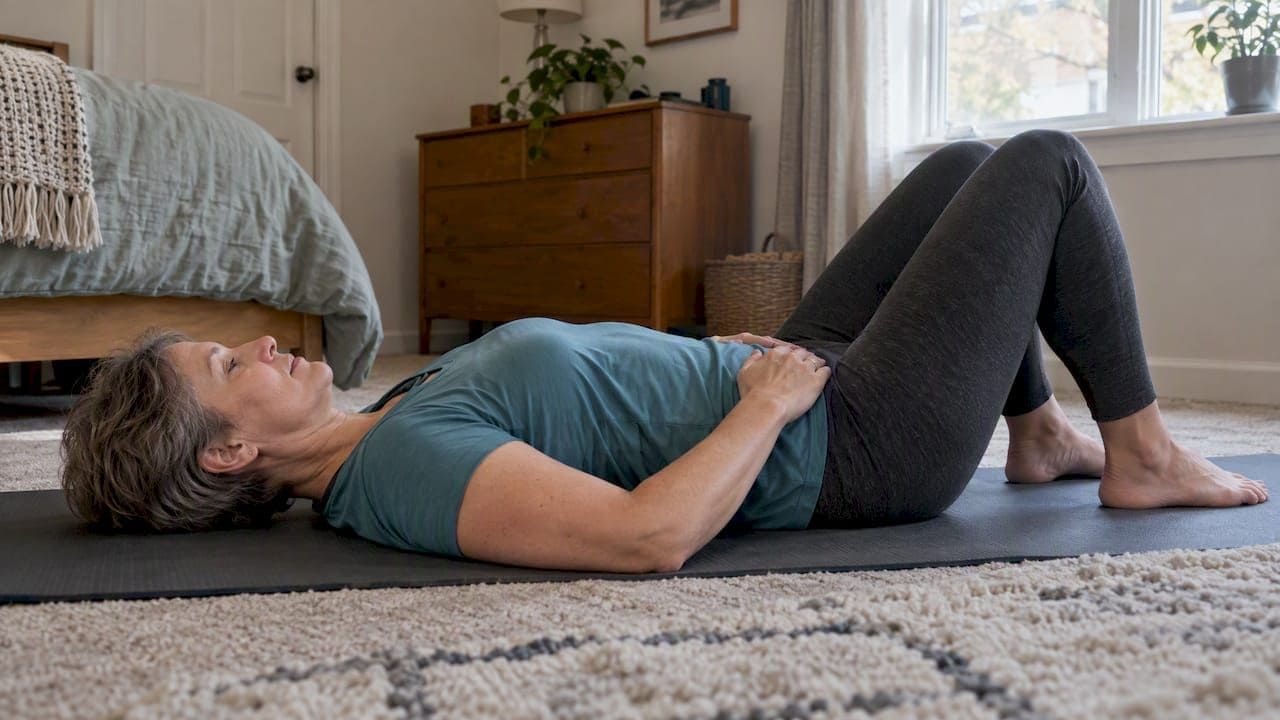
- Glute bridge: Lie on your back, knees bent, feet flat. Drive through your heels to lift your hips, squeezing your glutes at the top. Do 1 to 4 sets of 8 to 15 reps. Once this feels easy, add a resistance band above your knees or try a single-leg version.
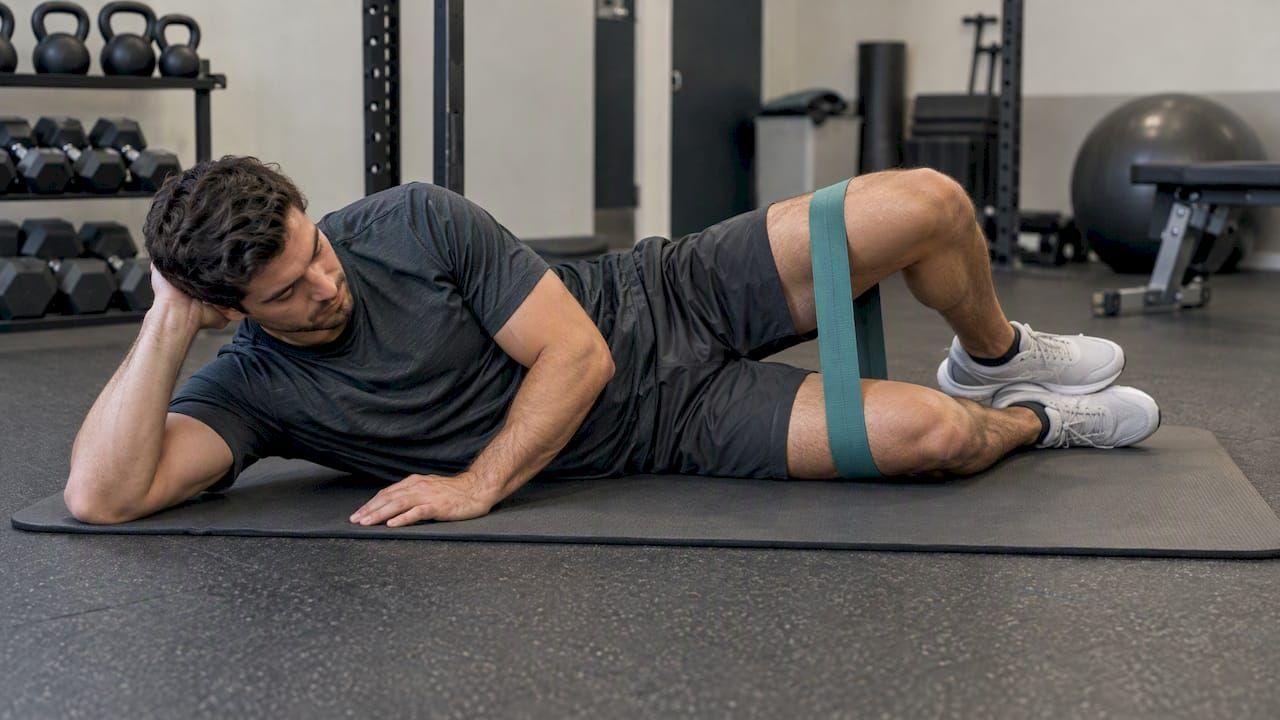
- Clamshell: Lie on your side with knees bent and stacked, hips stacked too. Keeping your feet together, lift your top knee without rolling your pelvis backward. Aim for 2 to 3 sets of 8 to 15 reps per side, then progress by looping a band around your thighs.
- Side-lying hip abduction: Lying on your unaffected side, lift your top leg straight up while keeping your pelvis still and your toes pointed forward. Start with 8 to 12 reps and add ankle weights or band resistance gradually.
- Isometric hip abduction holds: Press your leg outward against a wall or a partner's hand and hold, without movement. These are often the gentlest starting point.
- Pelvic tilts and straight-leg raises: Useful early options if side-lying positions irritate the hip, since they activate the same muscle groups from your back.
Some discomfort during these movements is normal; pain during exercise should not keep worsening or remain aggravated afterward. If it does, stop and seek guidance from a clinician. Sharp or worsening pain is not: back off the range of motion or switch to an isometric version instead.
Pro Tip: If lying on your side hurts, do the clamshell and abduction exercises later in your program and build strength with bridges and pelvic tilts first.
Progressing Safely Without Flaring Up the Bursa
Load management means giving your gluteal muscles and tendons just enough stress to adapt and get stronger, without overwhelming them to the point of a flare-up. This balance drives recovery more than any single stretch or exercise.
- Train most days, either with short daily sessions or every other day, which matches how trial protocols for gluteal tendinopathy are typically structured.
- Advance to the next level (more resistance, a single-leg variation, a longer hold) only when the current version feels easy and your pain has not worsened afterward.
- Increase resistance before increasing reps once your form is clean and controlled.
One randomized pilot trial found that both isometric and isotonic approaches produced similar pain and function improvements at 12 weeks, using daily home exercise supplemented by 8 physiotherapy visits. That lines up with broader findings that effective programs typically span 8 to 12 weeks, often home-based with 4 to 14 supervised sessions mixed in.
Stretches That Complement Your Strength Work
Stretching alone won't resolve hip bursitis, but a few mobility moves ease tightness in the muscles that cross the hip and can make strengthening work more comfortable.
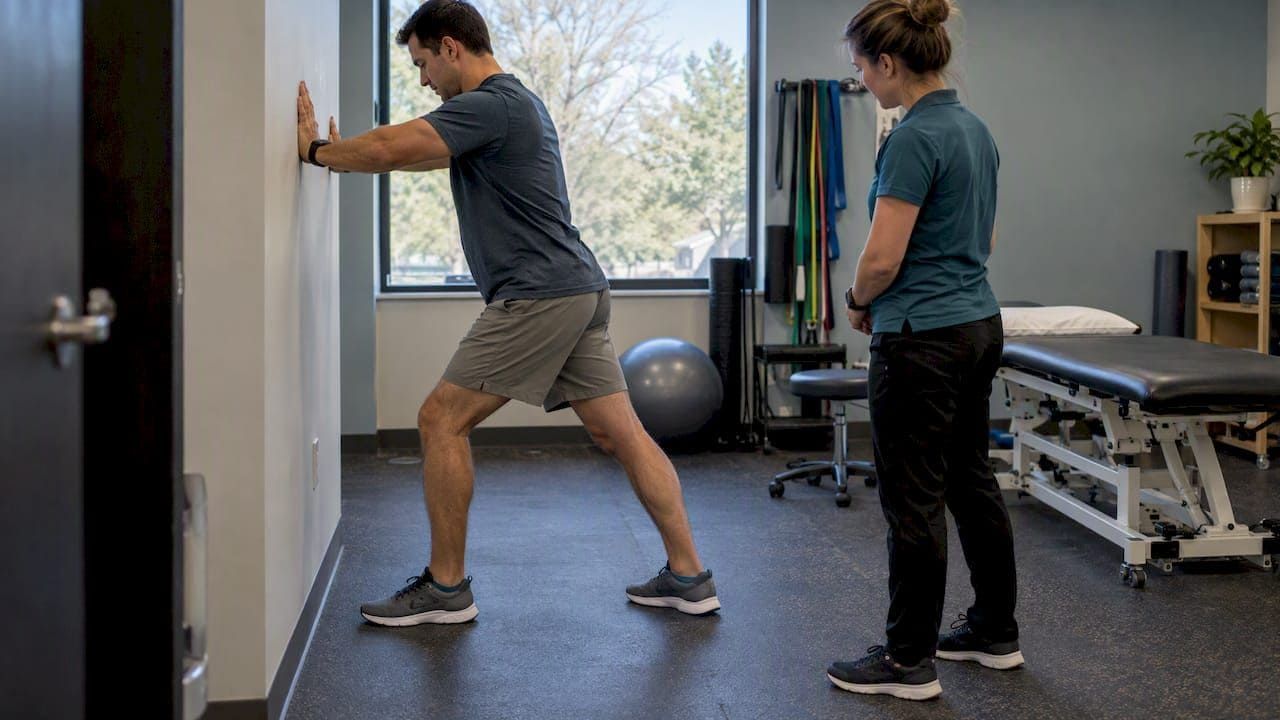
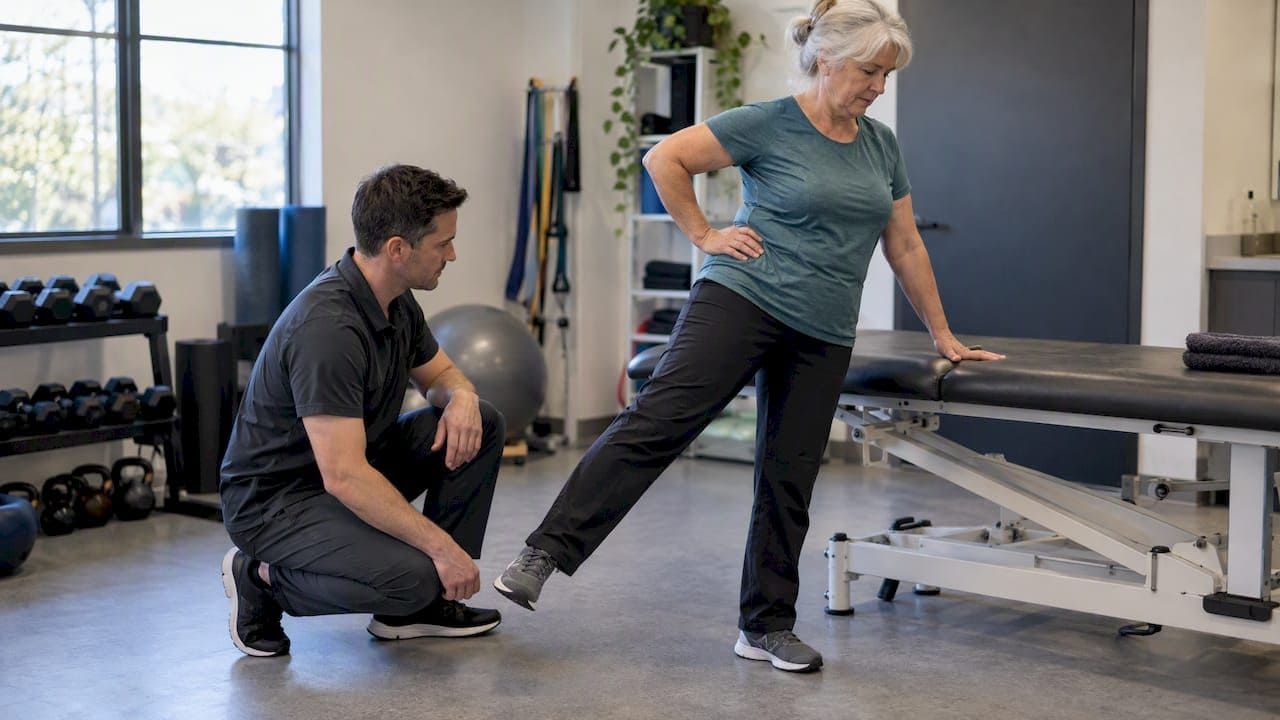
- IT band lean: Stand next to a wall, cross your unaffected leg in front of the affected one, and lean your hip toward the wall until you feel a stretch along the outer thigh. For those concerned about stability, safe exercises like this are part of recommended balance training for seniors. Hold onto something if your balance is unsteady.
- Hip flexor and quad stretches: Useful for overall hip mobility, especially if tightness in the front of the hip is limiting your stride or standing posture.
Never force a stretch into pain along the outer hip. If a stretch increases that specific lateral pain, ease off the range and prioritize strengthening instead until your tolerance improves.
Movements That Make Hip Bursitis Worse
Certain everyday habits put repeated pressure on the bursa and can undo progress from your exercise program.
- Lying directly on the painful side, especially without a pillow between your knees.
- Deep squats, repeated stair climbing, or crossing your legs for long periods.
- Long runs, jumping, or other high-impact activity before your strength has caught up.
- Heavy, wide-range resisted hip abduction machines at the gym early in recovery.
Swap these for low-impact options like cycling or swimming, reduce range and load on gym machines, place a pillow between your knees at night, and break up long stretches of standing or sitting with position changes.

An 8 to 12 Week Plan You Can Follow at Home
Spreading your standard progressive program over three phases keeps the gluteal muscles progressively loaded while giving the bursa time to settle.
- Weeks 0 to 4: Focus on activation and pain-tolerant isometrics. Use short, low-volume sessions with exercises such as isometric holds, pelvic tilts, and gentle bridges.
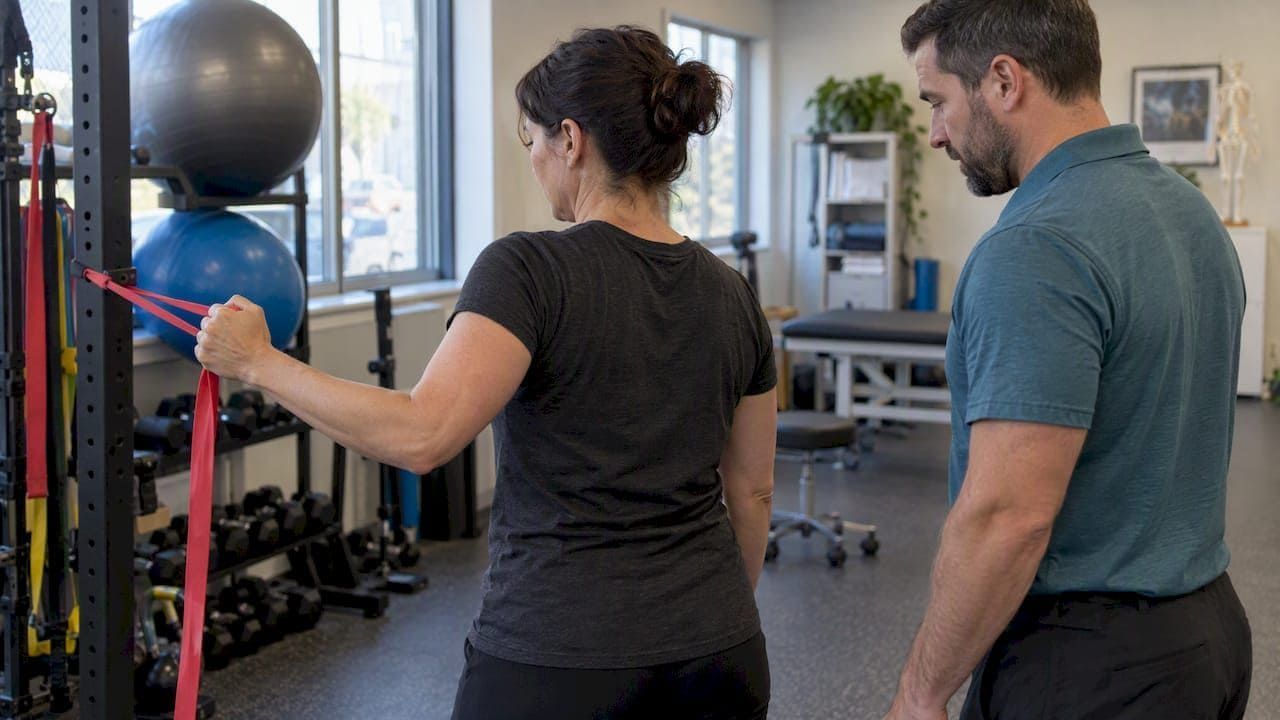
- Weeks 4 to 8: Introduce isotonic strength work at 3 sets of 8 to 12 reps. Add resistance bands and longer holds, and consider a supervised check-in to confirm your form.
- Weeks 8 to 12: Progress to heavier resistance and functional movements like single-leg bridges and step-ups. Reintroduce impact activity gradually if your pain stays stable.
Move to the next phase only when your current exercises feel easy and the next day brings no increase in pain.
Pro Tip: Keep a simple pain log after each session. A pattern of pain creeping up over several days is the clearest sign you've progressed too fast.
When Home Exercise Isn't Enough
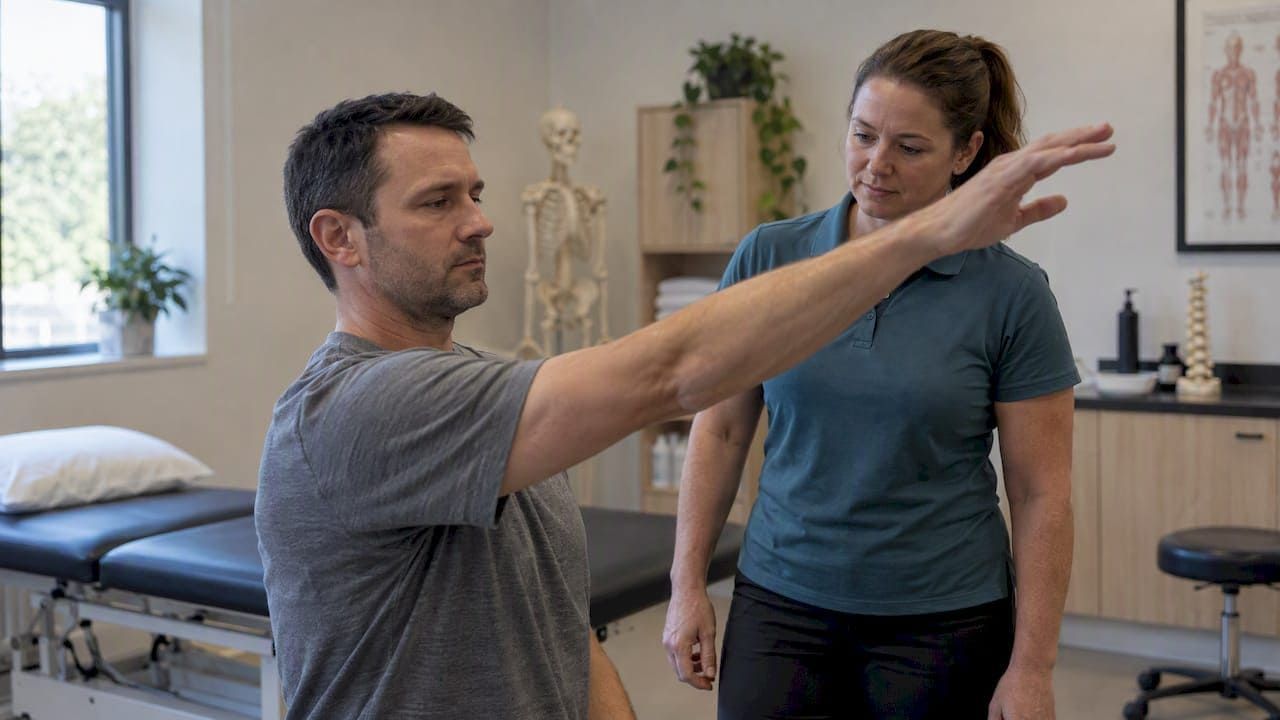
If a structured 8 to 12 week program brings no improvement, or your pain or function keeps getting worse, that's a reason for a clinical evaluation rather than more time waiting it out. Sudden inability to bear weight, fever, or other concerning symptoms warrant immediate medical attention. A physical therapist or chiropractor can assess your hip mechanics, confirm whether gluteal tendinopathy is the real driver of your pain, and tailor load progression more precisely than a self-guided plan.
Why We Favor Rehab Over Quick Fixes
Exercise that rebuilds tendon and muscle capacity holds up better over time than a corticosteroid injection or simply waiting for pain to pass on its own, based on the trial evidence comparing these approaches. Quick fixes can mask symptoms temporarily without addressing why the hip is overloaded in the first place. When a home program stalls, supervised rehab lets someone adjust your load, catch technique errors, and keep your progression on track instead of guessing at the next step.
Getting Guided Support for Your Hip Bursitis Recovery
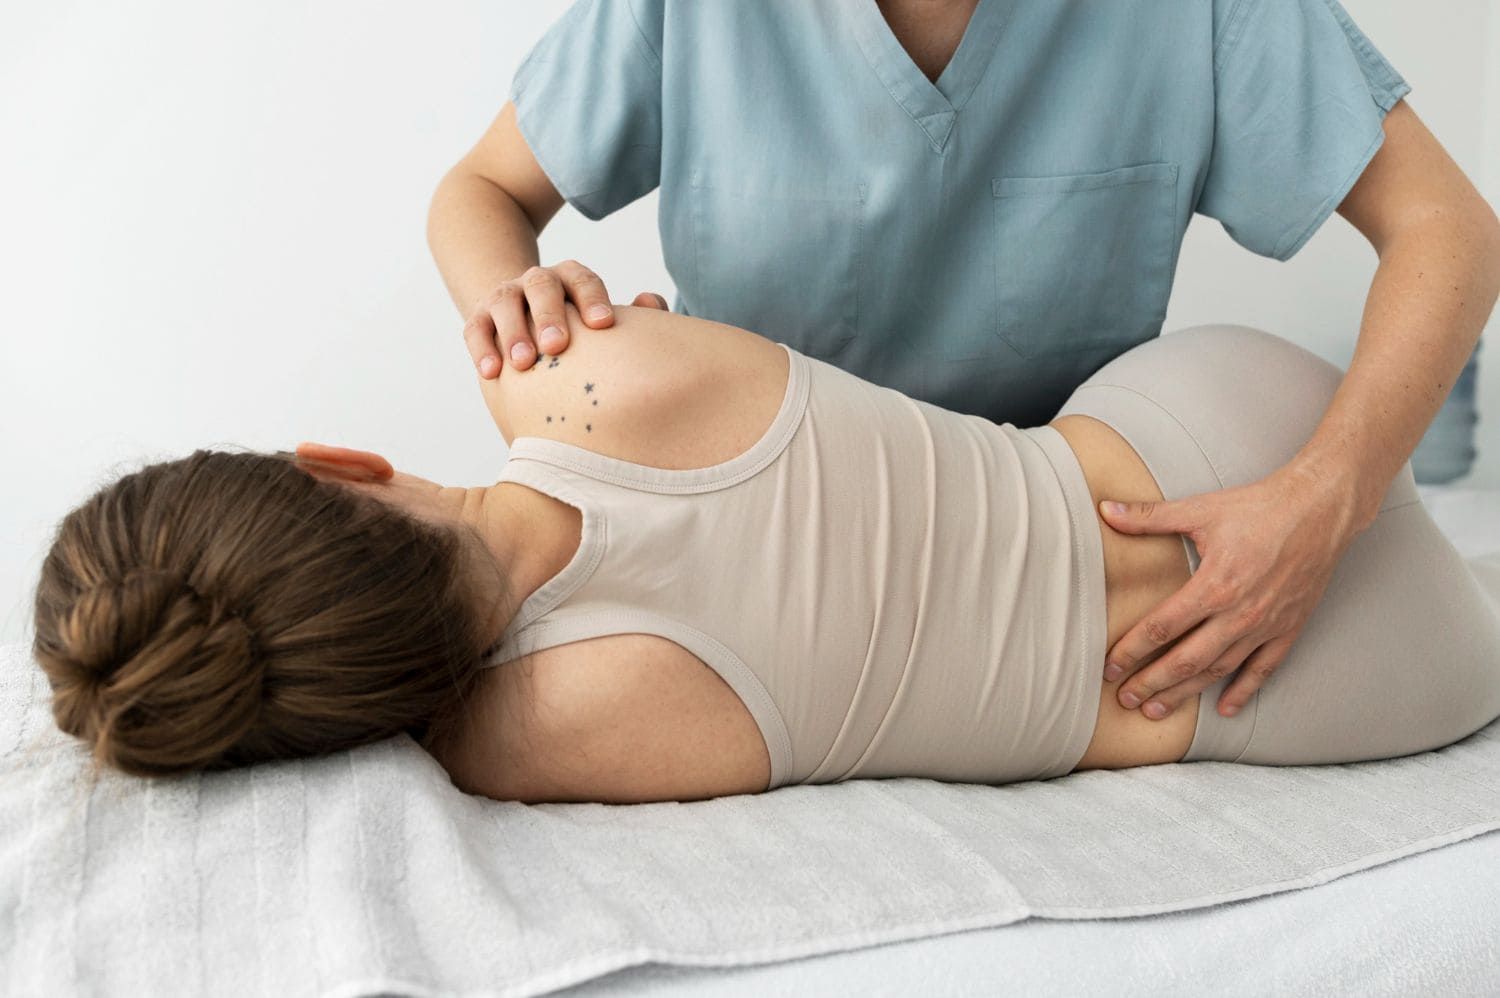
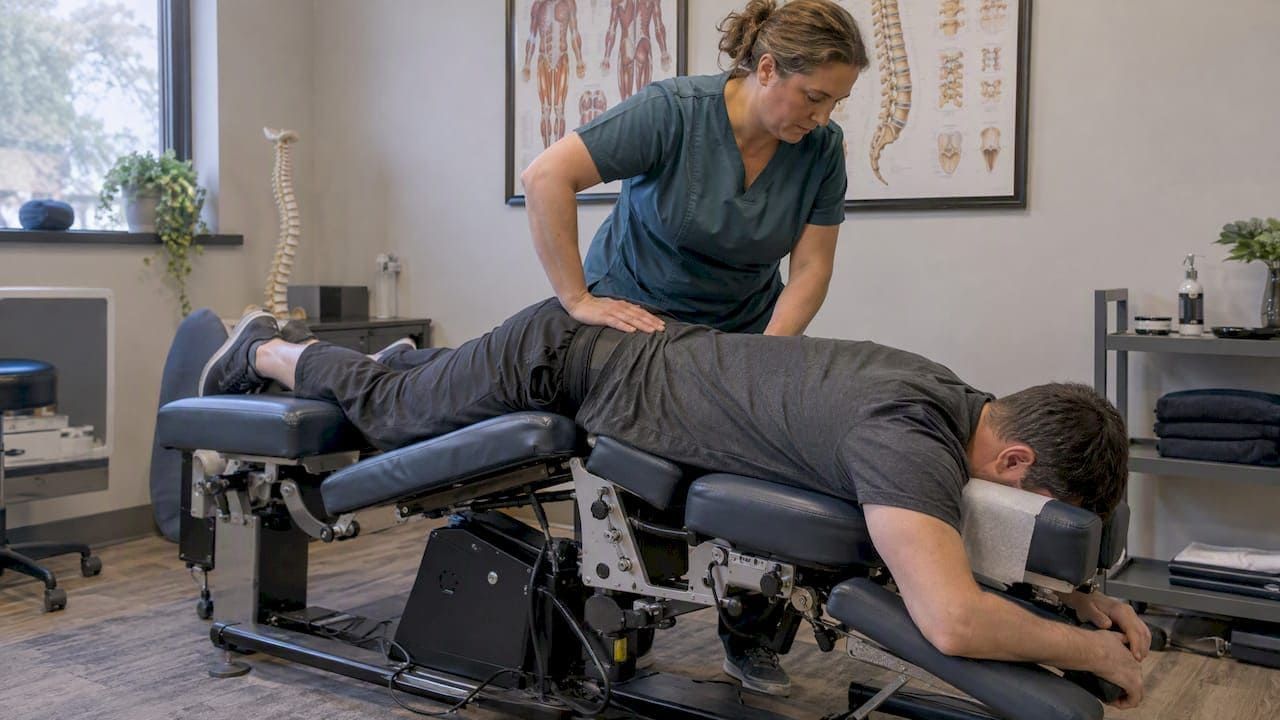
When a home program plateaus or the exercises feel confusing to dose correctly, we offer hands-on physical rehab built around progressive strengthening principles, paired with manual therapy. Our team also treats sports-related injuries and designs individualized progression plans.
- In-person assessment of your pain.
- Hands-on therapy and chiropractic adjustments alongside your strengthening program.
- A load-management plan adjusted as you progress through each phase.
Schedule an evaluation through our chiropractic care page to get a plan built around your specific hip pain.
This article is general information, not a substitute for advice from a qualified doctor. Consult a qualified healthcare professional about your own circumstances before acting on anything here.
FAQ
What stretches can I do to relieve pain in my outer hip?
The IT band lean and the supine figure-4 piriformis stretch both target the outer hip and surrounding muscles. Hold each stretch 15 to 30 seconds for 2 to 4 repetitions, and stop if the stretch itself increases your lateral hip pain.
How long does it take to get rid of bursitis in your hip?
Most structured exercise programs for GTPS run 8 to 12 weeks, with gradual improvements in pain and function rather than a quick fix. Recovery speed depends on how consistently you progress load without flare-ups, so sticking with daily or every-other-day sessions matters more than any single exercise.
How can trochanteric bursitis be healed?
Progressive strengthening of the hip abductors and glutes, combined with sensible load management, addresses the muscle weakness that commonly underlies trochanteric pain. Research comparing education plus exercise against corticosteroid injections and a wait-and-see approach found the exercise-based approach produced better long-term outcomes. When a home program isn't enough, supervised physical rehab can fine-tune the plan.
What exercises can I do to help with ischial bursitis?
Ischial bursitis sits lower, near the sitting bone, so exercises that reduce direct pressure, like supported seated positions and gentle hamstring and glute activation, tend to help more than hip abduction moves aimed at the outer hip. If pain persists with basic activity changes, a clinician can confirm the diagnosis and guide an exercise plan matched to the actual structure involved.