Nerve Gliding Exercises: A Practical Relief Routine
Nerve Gliding Exercises: A Practical Relief Routine
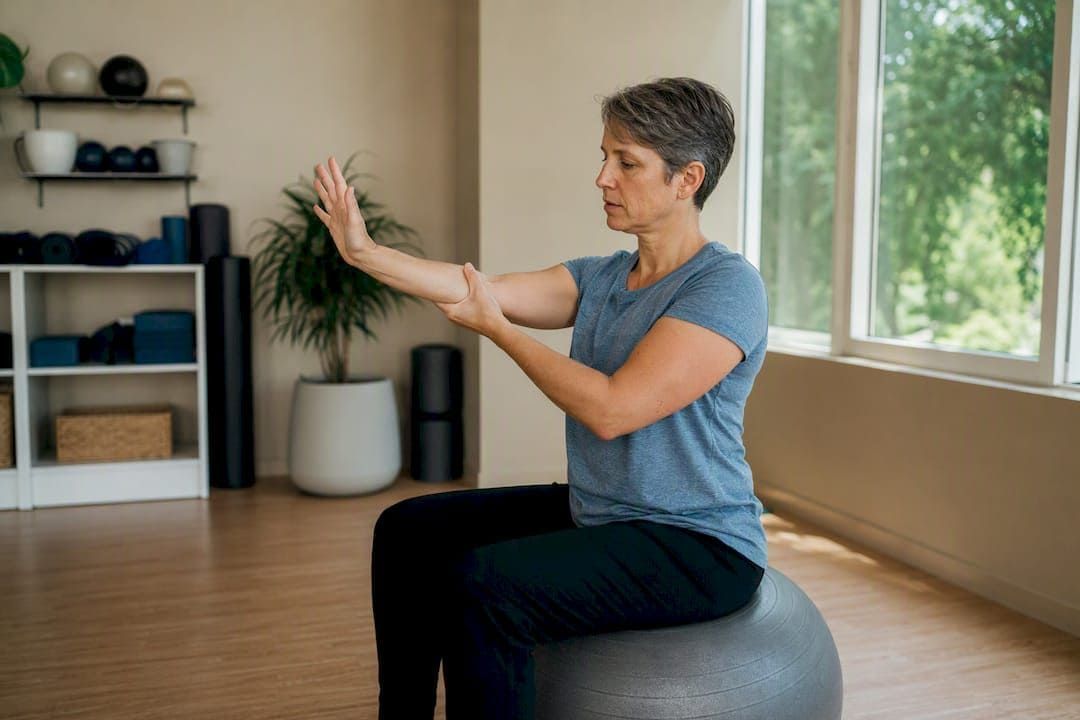
Nerve gliding exercises are gentle, repetitive movements that slide an irritated nerve through its surrounding tissue to reduce tingling, numbness, and stiffness. If you have burning or pins-and-needles running down an arm or leg, one simple starter move is the median nerve slider: extend your arm out to the side, palm up, then gently bend your wrist down and back while tipping your head away from that arm, and reverse. Do 5 to 10 slow reps, once, and see how your symptoms feel afterward.
Stop immediately if you feel sharp pain, or if numbness or weakness gets worse rather than better. That single rule matters more than any rep count. The routines, dosing rules, and safety checkpoints below will walk you through full upper and lower body sequences, how often to do them, and when home exercise isn't enough.
Key Takeaways
Nerve gliding exercises relieve tingling and stiffness by moving an irritated nerve through its surrounding tissue using small, frequent, low-tension repetitions rather than sustained stretching.
| Point | Details |
|---|---|
| Start with sliders | Use gentle sliding motions before ever attempting tensioners, which add more direct neural strain. |
| Dose small and often | Do 5 to 10 reps in several short sets spread across the day rather than one long session. |
| Know your stop signs | Sharp pain, spreading numbness, or worsening weakness mean stop and get assessed. |
| Give it six weeks | Expect brief temporary relief early, with more lasting change typically building over several weeks of consistent practice. |
| Pair exercise with posture fixes | Gliding works better alongside correcting the desk setup, sleep position, or movement pattern loading the nerve. |
Table of Contents
- What Are Nerve Gliding Exercises, and How Are They Different From Stretching?
- When Should You Stop Nerve Gliding Exercises?
- How Do You Perform Upper-Body Nerve Gliding Exercises?
- How Do You Perform Lower-Body Nerve Gliding Exercises?
- How Often Should You Do Nerve Gliding Exercises?
- What Does the Research Say About Nerve Gliding?
- Ready to Get a Professional Nerve Assessment?
- What Actually Matters Most With Nerve Gliding
- Sources
What Are Nerve Gliding Exercises, and How Are They Different From Stretching?
Nerve gliding, sometimes called nerve flossing, moves a nerve through the tunnel of muscle, bone, and connective tissue around it rather than pulling it taut. Static stretching lengthens a muscle and holds it there. A nerve glide does the opposite: it uses movement at two joints at once, one that adds tension and one that releases it, so the nerve slides back and forth like floss through the gap between your teeth. That sliding action is believed to restore normal nerve mobility, improve local blood flow, and reduce the nerve's sensitivity to movement and pressure, which is why clinicians reach for it before anything more aggressive.
There are two main techniques. Sliders create movement without much added tension, and they're the standard starting point for anyone with active symptoms. Tensioners stretch the nerve more directly and are reserved for later stages, once irritability has settled, according to physiotherapy guidance on neurodynamic mobilization.
Conditions that commonly respond to this approach include:
- Sciatica and lumbar nerve root irritation
- Carpal tunnel syndrome (median nerve)
- Cubital tunnel syndrome and other ulnar nerve issues at the elbow
- Piriformis-related sciatic nerve irritation
- Thoracic outlet and radial nerve entrapments
If symptoms trace back to a structural problem like a herniated disc or a severely compressed nerve, a clinician needs to assess you before you build a home program around gliding alone.
When Should You Stop Nerve Gliding Exercises?
Nerve tissue is more sensitive than muscle, so pushing through discomfort here is the wrong instinct. Mild, brief tingling during a glide is usually fine. Anything beyond that is a signal to back off.
Stop and reassess if you notice any of the following:
- New or sharp, shooting pain during the movement
- Numbness that lingers or spreads after you finish
- Weakness that's progressing rather than staying stable
- Symptoms in both arms or legs, or any loss of bowel or bladder control
- Signs of infection, fever, or unexplained swelling near the affected area
Get assessed before starting any home routine if you've had recent trauma, a fall, or an accident near the area; if weakness is already severe; or if you notice the bowel/bladder or bilateral symptoms above; those need medical attention first, not exercise.
A simple home screen: try one gentle rep, wait a few minutes, and check whether symptoms calmed down or flared up. Guidance from Hinge Health notes that persistent or worsening neurological symptoms after a glide mean it's time to stop and get evaluated rather than push through.
Pro Tip: Test your irritability level before committing to a full set. One or two slow reps tell you almost everything about whether your nervous system is ready for more that day.
How Do You Perform Upper-Body Nerve Gliding Exercises?
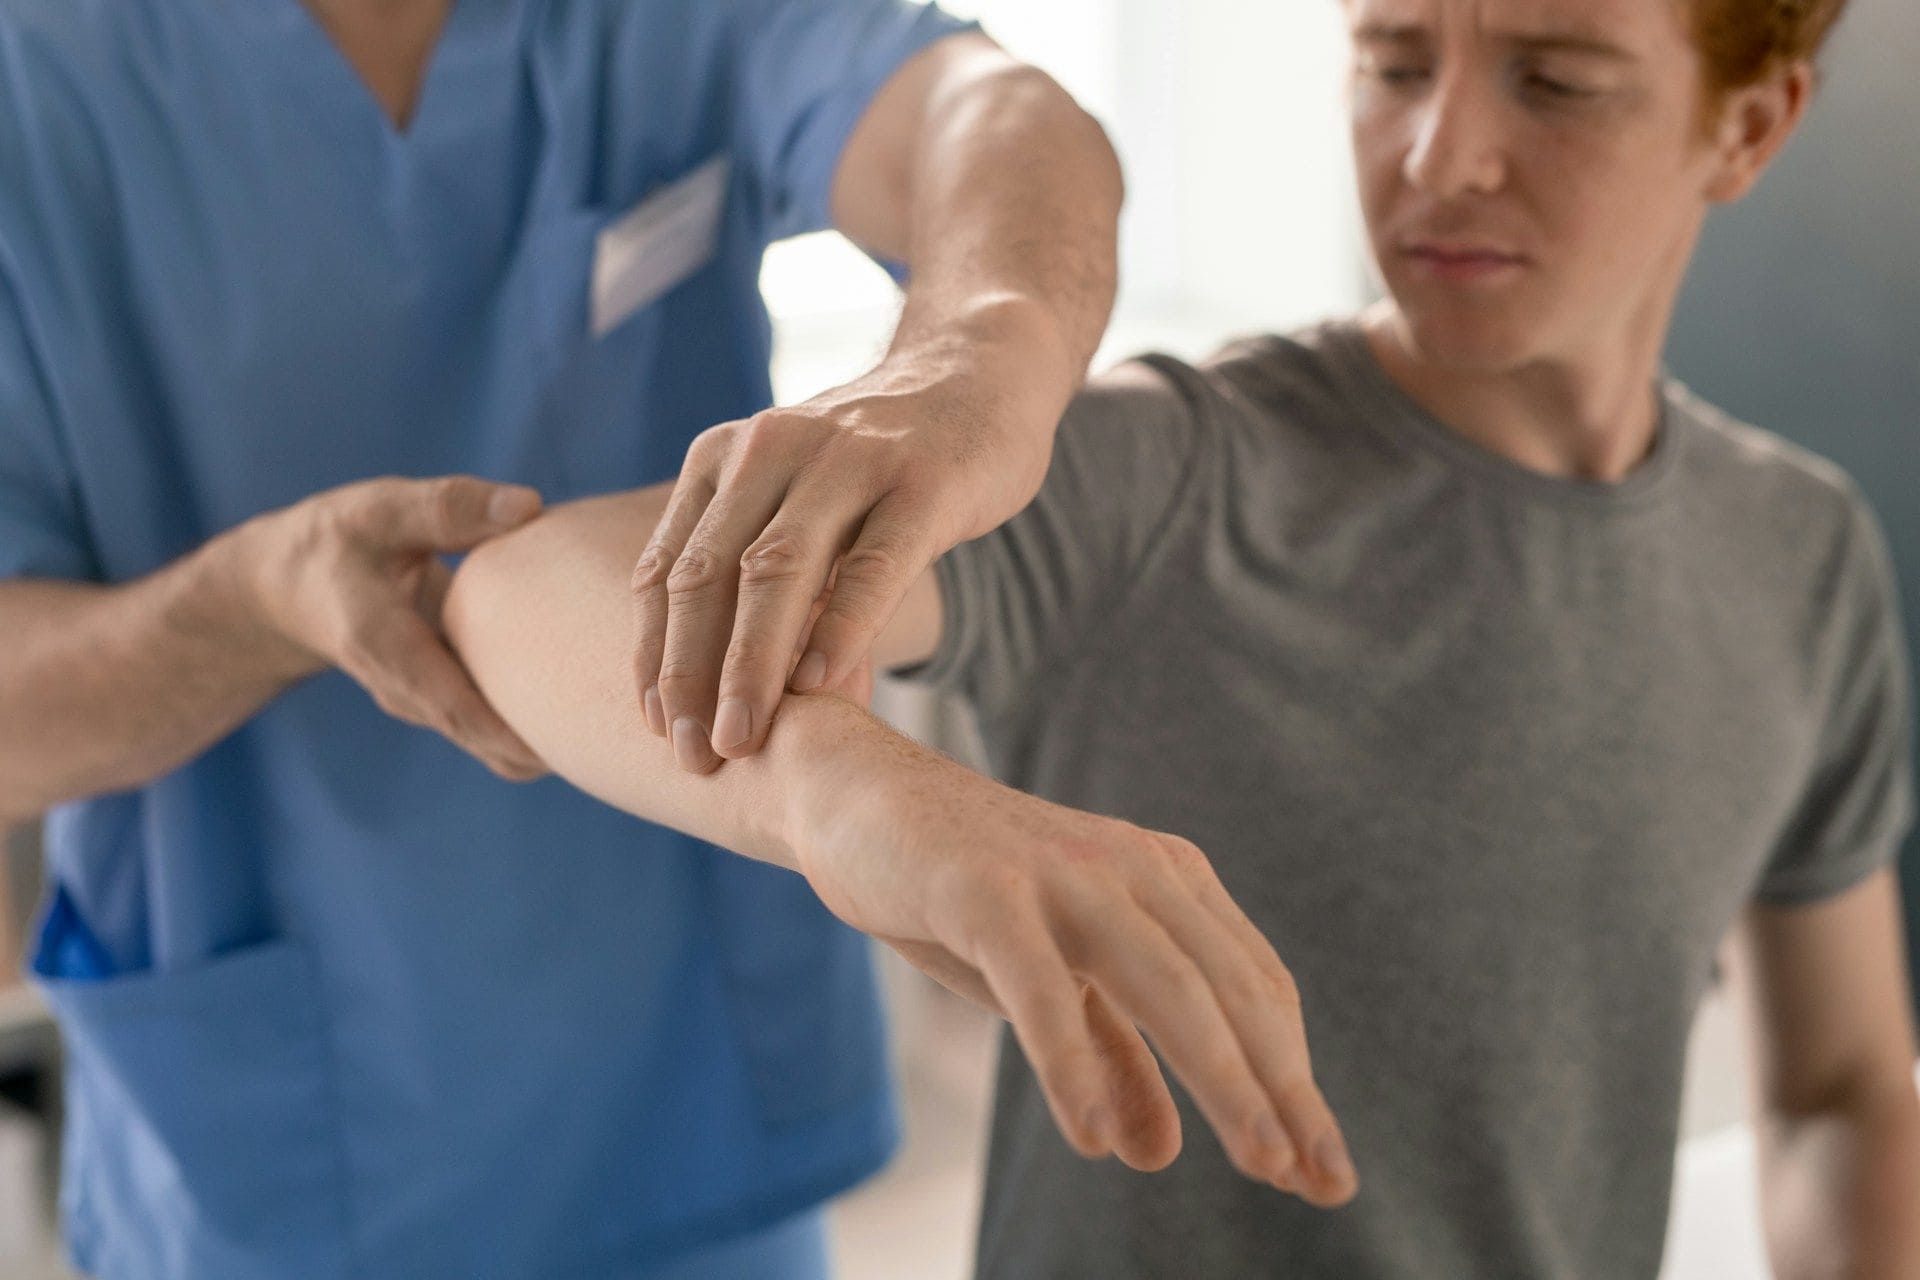
Before starting any upper-limb sequence, check your posture (sit or stand tall, shoulders relaxed), breathe normally instead of holding your breath, and monitor sensation the entire time. Mild stretching or tingling is acceptable. Sharp pain is not.
Median nerve slider:
- Sit or stand with your arm out to the side at shoulder height, elbow straight, palm facing up.
- Gently bend your wrist and fingers downward while tilting your head toward the opposite shoulder.
- Reverse: extend your wrist and fingers back while tilting your head toward the same-side shoulder.
- Move slowly between the two positions for 5 to 10 reps.
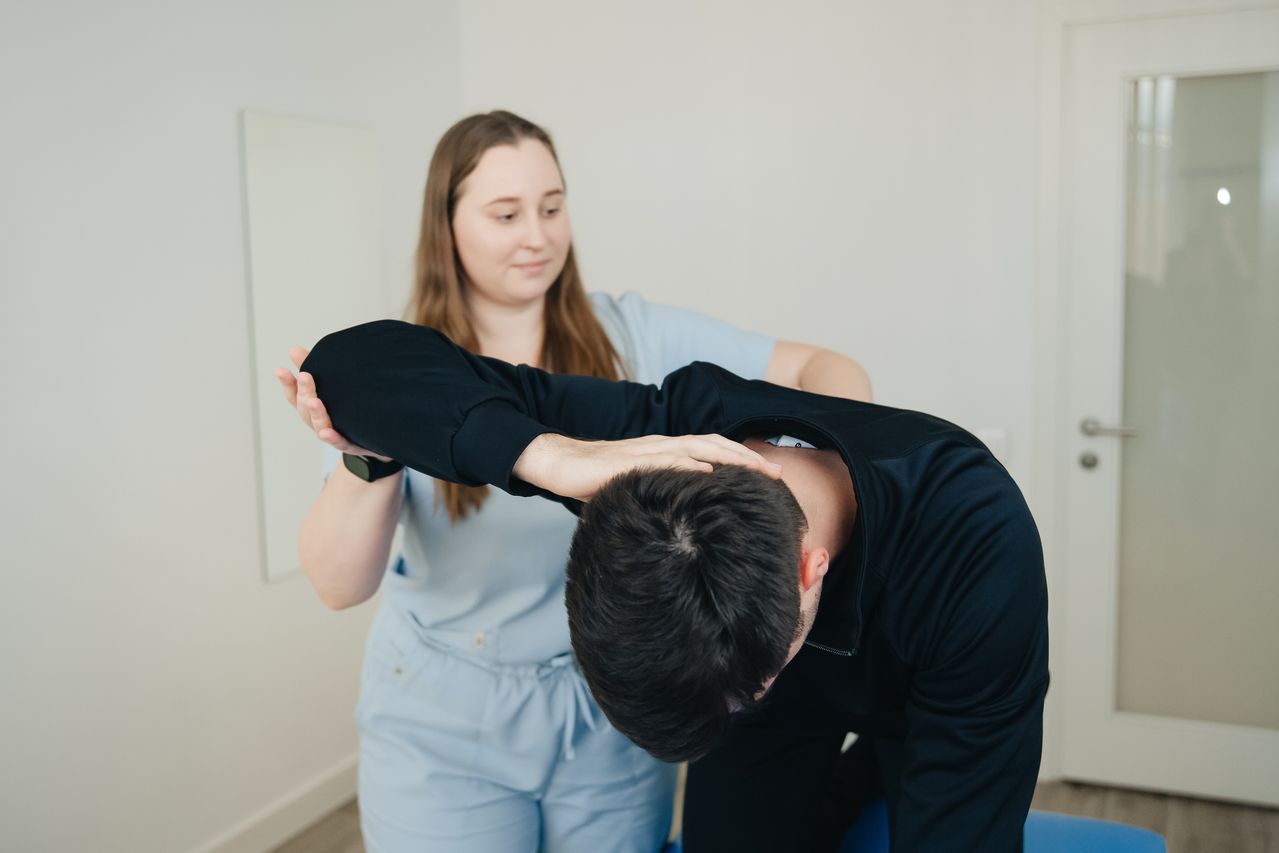
To increase intensity, straighten the elbow more fully or tip the head further away from the arm. Hinge Health points to head position as one of the simplest ways to scale tension up or down without changing the arm position at all.
Ulnar nerve glide (cubital tunnel):
- Raise your arm to shoulder height with the elbow bent and palm facing your face.
- Slowly straighten the elbow while extending the wrist, then bend the elbow back while curling the wrist, coordinating the elbow and wrist so they move in opposite phases.
- Add gentle neck tilting away from the arm for more tension, or keep the neck neutral to start gentler.
This elbow-wrist sequence is the same one used in the clinical study on cubital tunnel syndrome discussed further below.
Radial nerve glide:
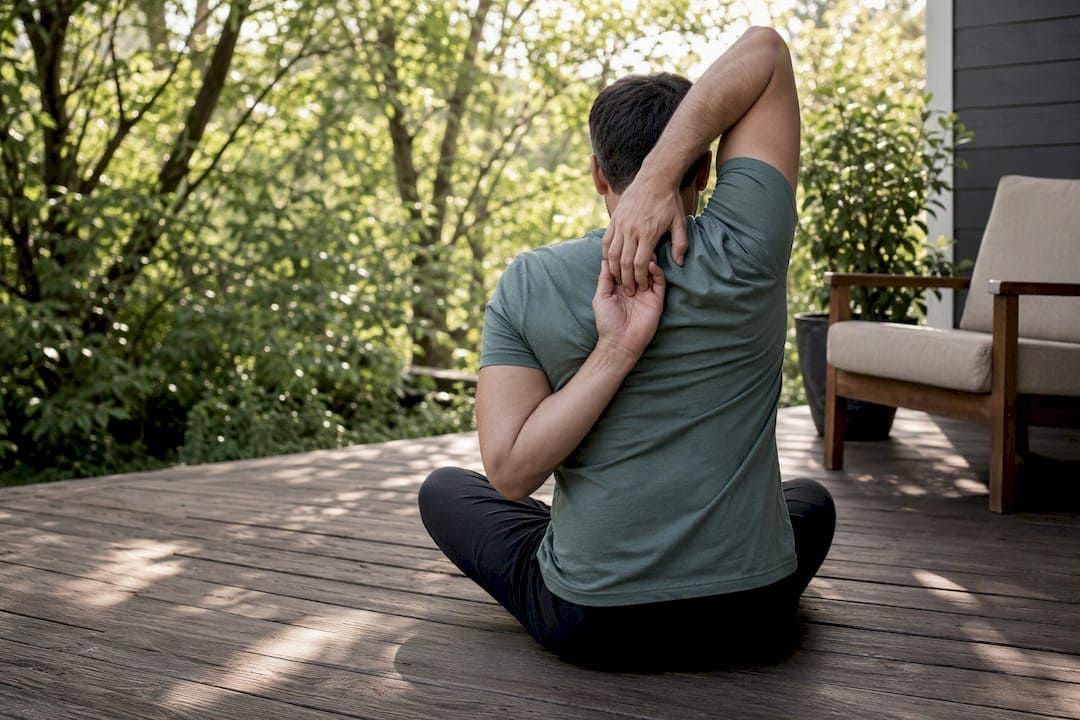
- Extend your arm down by your side, then internally rotate it slightly and bend the wrist down (like checking a hidden watch behind your back).
- Tilt your head away from the arm to add tension, then return to neutral.
Favor the radial glide when tingling shows up on the back of the hand or thumb side of the forearm, rather than the palm or pinky side.
3 to 5 minute upper-limb routine: Pick the glide matching your symptoms, do 5 to 10 slow reps, rest 30 seconds, and repeat for 2 to 3 sets. If more than one nerve is involved, run through median, then ulnar, then radial, one set each, in that order.
Pro Tip: Sliders should never hurt during the motion. If a rep leaves you sorer than before you started, cut the range in half at your next set.
How Do You Perform Lower-Body Nerve Gliding Exercises?
Sciatic and femoral nerve symptoms respond to the same slider logic, adapted for the hip, knee, and ankle.
Supine sciatic slider:
- Lie on your back with both knees bent.
- Loop a strap or towel around the ball of one foot and straighten that knee while flexing the ankle up (toes toward your shin).
- As you extend the knee, tilt your head down toward your chest; as you bend the knee back, tilt your head back.
- Repeat for 5 to 10 slow reps, then switch sides if needed.
Seated sciatic floss:
- Sit tall at the edge of a chair with one knee bent at 90 degrees.
- Straighten that knee while flexing the ankle up, then bend the knee back while pointing the toes down.
- Coordinate the ankle motion opposite the knee, the same slider pattern as the supine version, just gravity-assisted.
Standing progression: Once seated reps feel easy and pain-free, try the same motion standing, holding a chair or counter for balance, which adds a small amount of extra neural tension through hip position.
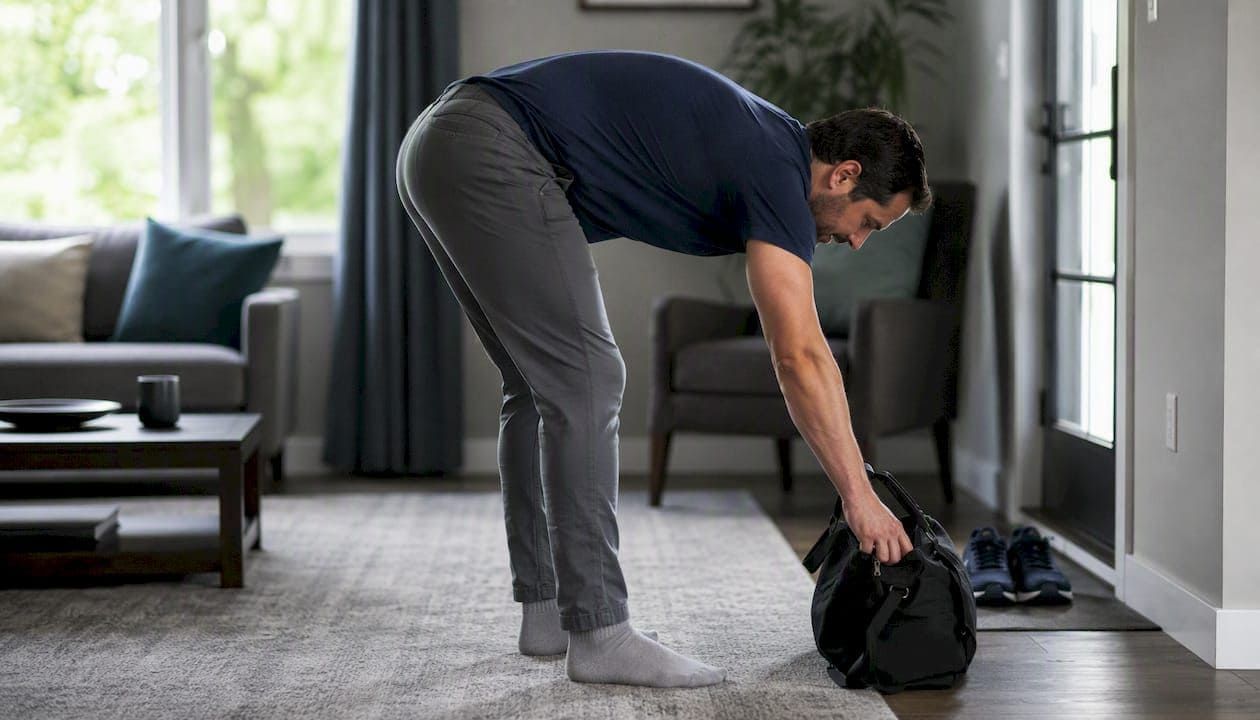
Femoral and piriformis-friendly options: For anterior thigh symptoms tied to the femoral nerve, a gentle standing hip extension with knee bending (avoiding a deep quad stretch) can glide the nerve without overloading the front of the hip. If your pain traces to piriformis tightness, combine gentle hip rotation with knee bending rather than aggressive stretching. Anyone with a suspected disc bulge or recent lumbar injury should have this cleared by a clinician first, since sciatic tensioning can aggravate an irritated disc if done too aggressively.
3 to 5 minute lower-limb routine:
- Supine sciatic slider: 5 to 10 reps
- Rest 30 seconds
- Seated sciatic floss: 5 to 10 reps
- Progress to standing only once seated reps are symptom-free
How Often Should You Do Nerve Gliding Exercises?
Start small. The most common starting dose across physical therapy guidance is 5 to 10 repetitions, done in several short sets spread across the day, rather than one long session.
- Week 1 to 2: Small, frequent sets, 2 to 3 times daily, focused entirely on sliders.
- Week 3 to 4: If symptoms are stable or improving, add reps or sets before increasing range of motion.
- Week 5 and beyond: If irritability is low and progress has stalled, a clinician may introduce tensioners for added neural stretch.
Frequent brief sets tend to outperform one marathon session because irritated nerve tissue responds better to repeated, low-dose movement than to prolonged strain, an approach backed by Verywell Health's coverage of nerve flossing in physical therapy.
Many patients notice a temporary easing of tingling within the same session, but that relief fades unless you keep practicing. Guidance from Hinge Health suggests sticking with a consistent routine for around six weeks before expecting durable, lasting change, and that's a reasonable point to reassess whether your symptoms have actually shifted or whether you need a professional evaluation.
What Does the Research Say About Nerve Gliding?
The strongest clinical evidence behind this practice comes from a study of 17 patients with cubital tunnel syndrome who performed structured ulnar nerve gliding exercises. Most patients showed improvement after several months of performing ulnar nerve gliding exercises. Researchers measured significant reductions in paresthesia, meaningful gains in grip and pinch strength, and better performance on the Semmes-Weinstein monofilament sensory test. Motor nerve conduction velocity rose from 36.9 to 41.9 meters per second, a statistically significant change that suggests the nerve itself was functioning better, not just feeling better.
That's a genuinely encouraging result for a nonsurgical intervention, but the study was small and observational, not a randomized trial, so it shows a strong association rather than definitive proof for every case.
PT guidance built on this kind of evidence consistently recommends the same sequence: sliders first, small frequent doses, and pairing the exercise with correction of whatever is loading the nerve in daily life, whether that's a bent-elbow sleeping position, repetitive desk posture, or heavy lifting mechanics, according to neurodynamic mobilization guidelines. When structural compression is severe or symptoms keep progressing despite months of conservative care, surgical decompression remains the fallback option that gliding exercises alone cannot replace.
Practical Clinical Tips From Essential Chirocare
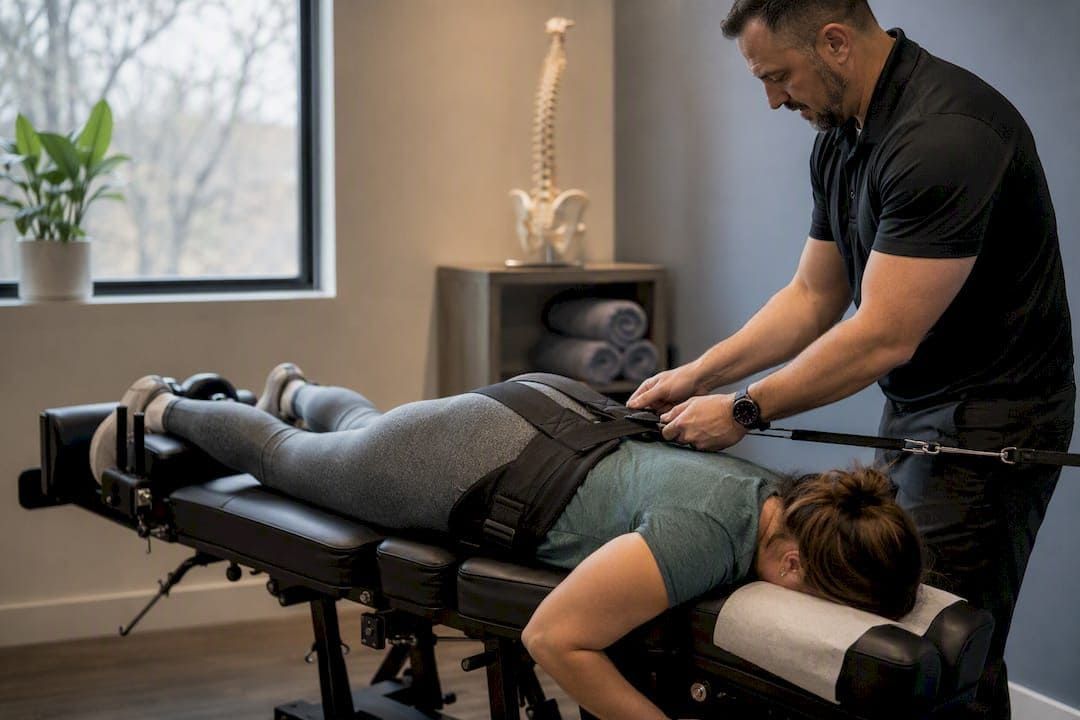
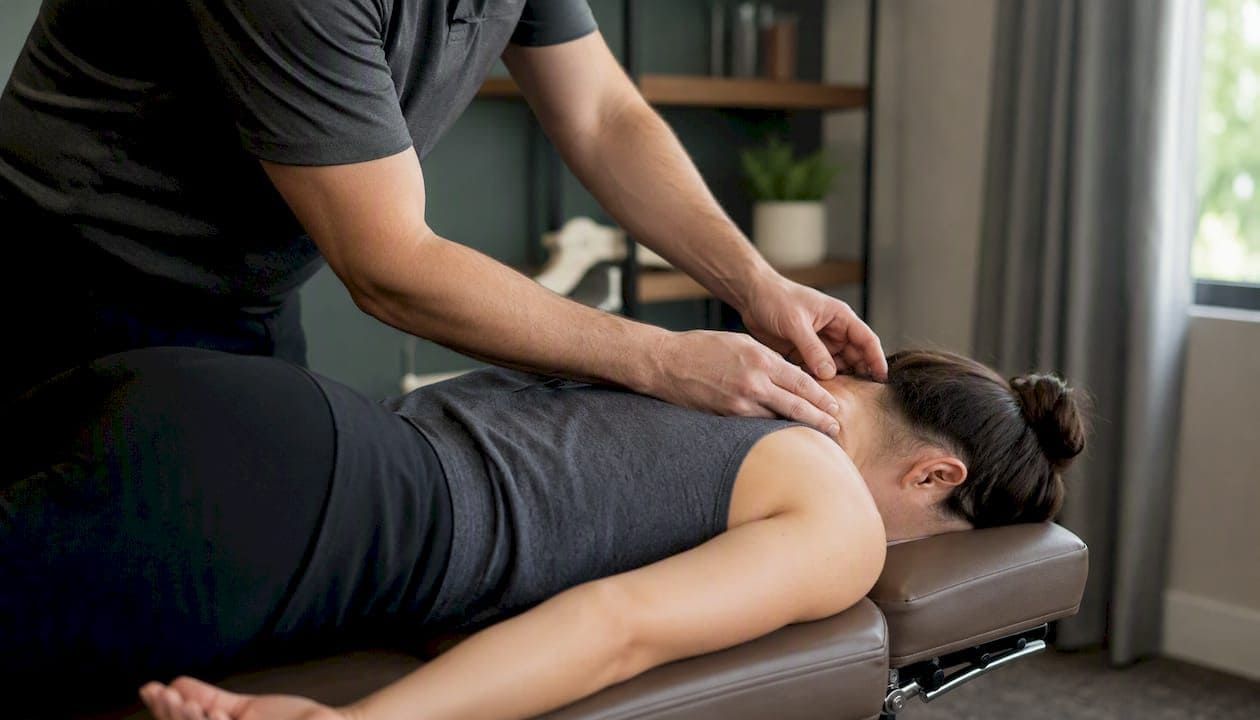
Home nerve glides work best as one piece of a broader plan, not a standalone fix. At Essentialchirocare, clinicians pair these exercises with a look at what's actually loading the nerve, whether that's a desk setup, a sport-specific motion pattern, or an old injury that never fully resolved.
A few things we consistently emphasize with patients:
- Screen for red flags before recommending any home routine, since not every case of tingling belongs in a self-directed program.
- Pair gliding with posture correction and manual therapy when the surrounding joints and soft tissue are contributing to the compression.
- Reassess progress at regular intervals rather than assuming a plateau means failure.
If home exercises haven't moved the needle after several weeks, or your symptoms are getting worse instead of better, that's the point to book an evaluation rather than keep guessing at home.
Ready to Get a Professional Nerve Assessment?
Nerve gliding exercises can meaningfully reduce tingling and improve mobility, but they work best when someone rules out a structural driver first, whether that's a disc issue, a joint restriction, or a repetitive strain pattern your daily routine keeps feeding. Essentialchirocare's chiropractic care combines hands-on assessment with rehabilitation planning, so if your symptoms haven't shifted after a few weeks of home gliding, or you're not sure which nerve is actually involved, a proper evaluation beats guessing. Our physical rehab programs are built to pair exercises like these with the manual work and load management that make results stick, across our clinic locations in West Central Florida.
What Actually Matters Most With Nerve Gliding
Most advice on this topic treats nerve gliding like a stretching routine with extra steps, and that framing undersells what's actually going on. A nerve isn't a rubber band. It's living tissue with its own blood supply, and treating it gently the first two weeks matters more than any single exercise you choose. The 2025 ulnar nerve study is genuinely useful here because it shows real physiological change, faster nerve conduction, better grip strength, not just subjective symptom relief. That's rare in conservative care and worth taking seriously.
Where conventional advice falls short is dosing. Plenty of guides hand readers a list of exercises and stop there, skipping the part where frequency and irritability screening matter more than the specific movement pattern. Small, frequent sets beat one long session almost every time.
If you take one thing from this guide, prioritize the stop rule over the routine itself. A perfect exercise done through sharp pain does more harm than a mediocre one done gently and consistently.
This article is general information, not a substitute for advice from a qualified doctor. Consult a qualified healthcare professional about your own circumstances before acting on anything here.
Sources
Recommended