Start With Breath: Diastasis Safe Postpartum Back Pain Exercises
Start With Breath: Diastasis Safe Postpartum Back Pain Exercises
Start with diaphragmatic breathing, pelvic tilts, and bird-dog to reduce postpartum back pain, then layer in glute bridges and dead-bugs once those feel controlled. This breath-first, low-load sequence retrains the deep core without straining the abdominal wall. Get medical clearance before progressing past gentle work, especially after a C-section, and stop any exercise that causes doming, pain, or leaking.
TL;DR:
- Most postpartum back pain can be alleviated through a sequenced program of diaphragmatic breathing, pelvic tilts, glute bridges, and gentle core stabilization exercises.
- Recovery timing and exercise progression depend on delivery type and individual healing, with C-section patients generally waiting longer before adding load.
- Avoid high intra-abdominal pressure exercises like crunches and planks until diastasis recti signs, such as doming or leakage, are absent.
- Daily activities like proper nursing posture and safe lifting techniques significantly support recovery and prevent setbacks.
- Seeking professional assessment is recommended if pain worsens, new symptoms appear, or postural or healing concerns persist beyond a few weeks.
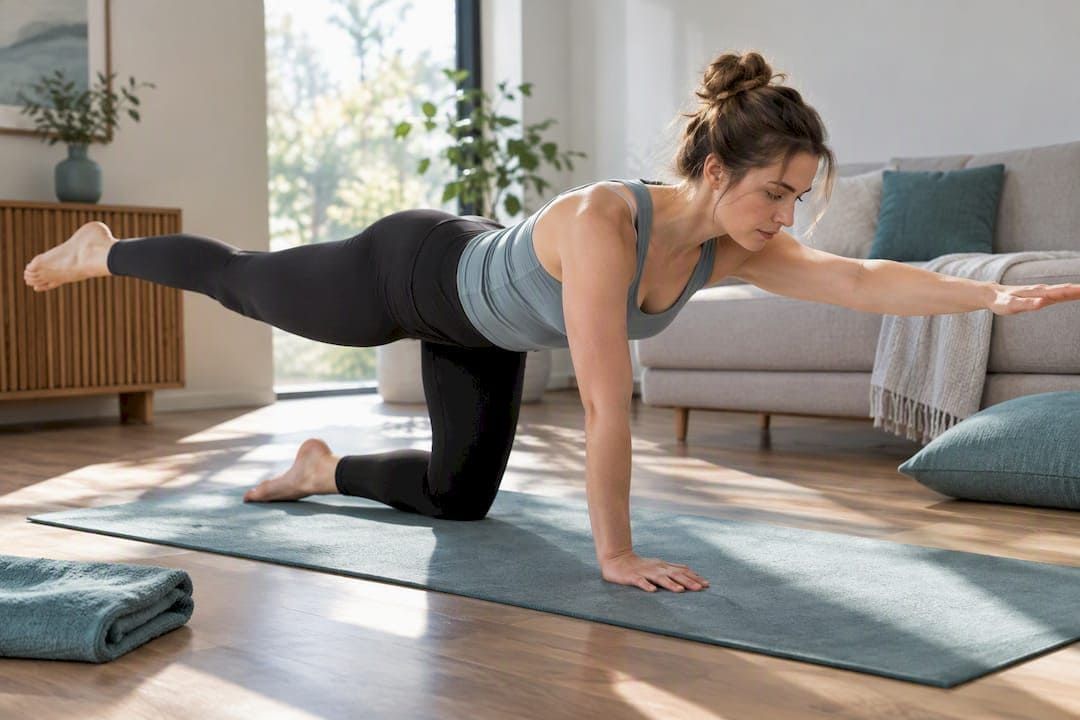
Table of Contents
- Which Postpartum Back Pain Exercises Should You Start With?
- When Is It Safe to Start Exercising After Birth?
- How Do You Modify Exercises for Diastasis Recti or a C-Section?
- Everyday Movements That Make or Break Your Recovery
- When Should You See a Professional for Postpartum Back Pain?
- Integrating Home Exercise With In-Clinic Care
- Get a Personalized Plan for Postpartum Back Pain Relief
- Sources
- FAQ
Which Postpartum Back Pain Exercises Should You Start With?
Your body just spent nine months adapting to a growing baby, and none of those adaptations reverse the moment you deliver. The deep core muscles, the pelvic floor, and the connective tissue running down your midline all need to be retrained in a specific order. Skip the order and you either waste time or aggravate something.
A peer-reviewed review of exercise interventions for postpartum pelvic and low back pain points to a specific set of low-load moves as effective: diaphragmatic breathing, pelvic-floor coordination, pelvic tilts, heel slides, glute bridges, dead-bugs, and bird-dogs. None of these require equipment. None of them involve a single crunch. That is not an accident. Traditional ab work loads the front of the abdominal wall precisely where it is weakest right now.
Here is the sequence that tends to work, in the order it should be trained.
1. Diaphragmatic (360) breathing with pelvic-floor coordination
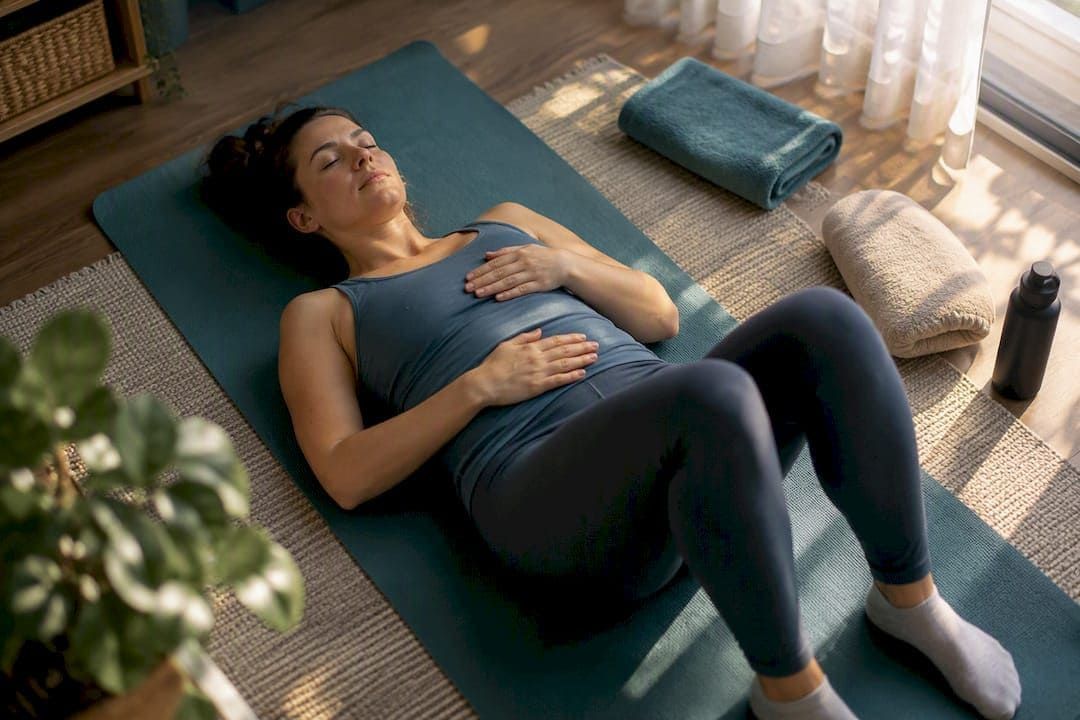
Lie on your back, knees bent, feet flat. Place one hand on your chest and one on your belly. Inhale through your nose and let your ribs expand out to the sides, back, and front, like a balloon inflating in all directions, not just up. As you exhale, gently draw your pelvic floor up and in, as if stopping the flow of urine, while your belly button draws toward your spine.
This is not optional groundwork. It is the exercise. A phased postpartum core program built around 360 breathing treats this breath as the foundation every other movement sits on, because it teaches the deep core (the transversus abdominis) and pelvic floor to fire together instead of working against each other. Do 5 to 10 slow breaths, two or three times a day, before you touch anything else on this list.
2. Pelvic tilts, heel slides, and heel taps
Once the breathing pattern feels natural, add gentle spinal movement. For a pelvic tilt, flatten your lower back into the floor on the exhale, then release to neutral on the inhale. Ten to fifteen reps is enough.
Heel slides ask more of your deep core without asking much of your lower back. From the same starting position, exhale and slide one heel away from you along the floor until your leg is nearly straight, keeping your low back still and quiet. Inhale as you slide it back. Alternate legs for 8 to 10 reps per side. Heel taps follow the same principle but lift the leg slightly instead of sliding it, which raises the difficulty a notch.
3. Glute bridges
Feet flat, knees bent, arms at your sides. Exhale and press through your heels to lift your hips, squeezing your glutes at the top without over-arching your back. Hold for one or two seconds, then lower with control.
This one matters more than most new moms realize. Weak glutes force the lower back to pick up slack during every lift, carry, and stand from a chair, and that slack accumulates into pain by the end of the day. Aim for 10 to 12 reps, one or two sets.
4. Bird-dog and dead-bug
These two moves build the stability that lets you move your arms and legs without your spine wobbling underneath you, which is exactly what happens fifty times a day when you're reaching for a diaper or shifting a baby's weight.
For bird-dog, start on hands and knees. Exhale as you extend one arm forward and the opposite leg back, keeping your hips level and your low back flat, not sagging. Hold briefly, return, switch sides. For dead-bug, lie on your back with knees bent at 90 degrees and arms reaching toward the ceiling. Exhale as you extend one arm overhead and the opposite leg straight, keeping your low back pressed into the floor the entire time. Both exercises live or die on that low-back contact staying still. If your back arches off the floor or the mat, the range of motion is too big. Shrink it. Six to eight slow reps per side is plenty.
5. Thoracic rotations and cat-cow
Everything above targets the low back and core. This one targets the upper back, which takes a beating from months of forward-leaning feeding positions. On hands and knees, cat-cow moves your spine between rounding and arching in sync with your breath, loosening the whole column. Thoracic rotation, done kneeling or seated with one hand behind your head, rotates your upper spine while your hips stay square. Both help undo the hunched posture that builds up during nursing sessions.
| Exercise | Primary target | Starting reps |
|---|---|---|
| Diaphragmatic breathing | Deep core, pelvic floor | 5 to 10 breaths |
| Pelvic tilt | Lumbar mobility | 10 reps |
| Heel slide | Transversus abdominis | 8 to 10 per side |
| Glute bridge | Glutes, posterior chain | 10 to 12 reps |
| Bird-dog | Rotational stability | 6 to 8 per side |
| Dead-bug | Core control under load | 6 to 8 per side |
| Cat-cow / T-spine rotation | Upper back mobility | 8 to 10 reps |
On frequency: short daily sessions beat occasional long ones. Ten minutes in the morning and ten minutes before bed accomplishes more over a month than one exhausting 45-minute workout squeezed in on a Sunday. You know how to test if you're ready to progress: you can hold the breathing pattern through the whole set, nothing pulls or bulges at your midline, and you feel the target muscle working, not your lower back compensating for it.
Pro Tip: Do your breathing reps during a feeding session. You're sitting still anyway, and pairing the habit with something you already do daily is the single biggest reason people actually stick with this.
When Is It Safe to Start Exercising After Birth?
Timing depends almost entirely on how you delivered and how your recovery is going, not on a fixed calendar. There is no universal green light.
After an uncomplicated vaginal birth, gentle activation, breathing, pelvic tilts, and short walks are often reasonable within a few weeks, as tolerated and pain-free. After a C-section, most people need a longer period before adding any load to the abdominal wall, since the incision needs to heal through multiple tissue layers, not just skin. ACOG's guidance on postpartum care calls for an individualized postpartum visit, commonly around six weeks, where a clinician assesses healing and clears you for increased activity based on your specific recovery, not a generic script.
That checkup is also where diastasis recti gets evaluated properly. You can do a rough self-check at home: lie on your back, knees bent, and lift your head slightly while pressing your fingers along the midline of your belly. A gap wider than about two finger-widths, or any doming and coning where your abs push up into a ridge, signals your deep core isn't ready for load yet.
That's exactly why planks and crunches get delayed. Both exercises drive intra-abdominal pressure straight into a midline that may still be thin and stretched, which can widen a gap instead of closing it.
A useful rule from the clinical literature: if any exercise produces visible doming or coning at your midline, or triggers new urinary leakage, regress immediately to breath-only work and supine isometrics until the movement pattern is clean again.
The progression logic is simple even when the exercises aren't: maintain a breath-coordinated neutral spine first, then increase range of motion, and only add load once you can do both without doming, leaking, or pain. Skipping ahead of that order is the most common way people stall their own recovery.
Certain symptoms mean you stop and get evaluated rather than pushing through:
- Pain that increases with each session instead of easing over days
- Numbness, tingling, or weakness in your legs
- Bleeding that's heavier or brighter than expected for your stage of recovery
- New or worsening urinary leakage, or any change in bowel control
- A visible bulge at your incision or midline that wasn't there before
These aren't signs to "work through it." They're signs to call your OB, midwife, or a pelvic-health specialist before doing another rep.
How Do You Modify Exercises for Diastasis Recti or a C-Section?
Diastasis recti and C-section recovery both call for the same underlying strategy: regress the exercise, not your effort. You're not doing less because you're weak. You're doing less because the tissue needs a gentler stimulus right now.
For diastasis-safe training, keep everything isometric and breath-led before adding movement:
- Isometric transversus abdominis holds: gentle belly-button-to-spine draw-in, held for 5 to 10 seconds, without holding your breath
- Heel slides and modified dead-bugs with a smaller range of motion, stopping the moment you feel any doming
- Avoid the Valsalva maneuver, bearing down and holding your breath under load, since it spikes intra-abdominal pressure exactly where you don't want it right now
- Skip full sit-ups, crunches, and full planks until your midline tests clean
C-section recovery adds its own layer. The incision has to heal through skin, fascia, and muscle, so load tolerance lags behind how you feel emotionally. Scar tissue mobility work, gentle circular massage around a fully healed scar, can help with tightness and sensitivity, but it should wait until the incision is closed and your provider has confirmed it's ready. Don't add resistance or ab load until you're cleared, even if the breathing and pelvic tilts feel easy.
For upper-back pain from feeding posture, T-spine rotations and doorway shoulder stretches work fast because improving thoracic mobility takes direct pressure off the lower back by correcting the slumped position that causes both problems in the first place.
If sciatica-type symptoms, pain shooting down the back of a leg, are part of your picture, skip aggressive spinal flexion (deep forward bends, full sit-ups) while symptoms are active. Lean instead on posterior-chain work like glute bridges, which strengthen the muscles that support your spine without provoking nerve irritation.
Pro Tip: If you're not sure whether you have diastasis recti, don't guess. A quick hands-on check from a pelvic-health physical therapist takes a few minutes and removes the guesswork entirely.
Everyday Movements That Make or Break Your Recovery
The exercises above matter, but they compete against dozens of daily movements that load your spine far more than any workout does. Ergonomic mechanics during feeding and lifting directly affect how much strain accumulates in your lower back over the course of a day, and small corrections add up fast.
- Fix your nursing setup before you sit down. Bring the baby to your chest with a pillow or nursing support instead of hunching forward to reach the baby. Keep your ears, shoulders, and hips stacked, with your back supported, not curled.
- Hip-hinge when you lift the baby, car seat, or laundry basket. Bend at your hips with a slight knee bend, keep your back flat, and bring the load close to your body before standing. This one adjustment protects your lower back more than any single exercise on this list.
- Use a split stance for anything heavier , one foot slightly forward, for extra stability when lifting a car seat or toddler off the ground.
- Wear a structured baby carrier for extended holding instead of carrying on one hip, which twists your spine asymmetrically for hours at a time.
- Fold micro-sessions into moments you already have. Do pelvic tilts while waiting for a bottle to warm, breathing reps during a feed, glute squeezes while brushing your teeth.
- Check your sitting and sleeping setup. A firm chair with lumbar support beats a soft couch for feeding sessions, and side-sleeping with a pillow between your knees takes pressure off a lower back that's already working overtime during the day.
None of this replaces the exercises. It just stops you from undoing their benefit twenty times a day.
When Should You See a Professional for Postpartum Back Pain?
Persistent pain deserves a real evaluation, not months of guessing. See someone promptly if pain is getting worse rather than better, if you notice new numbness or leg weakness, if bleeding seems abnormal for your stage of recovery, or if bowel or bladder control changes.
- A pelvic-health physical therapist is usually the right first call for diastasis recti, pelvic floor dysfunction, or pain tied to feeding posture.
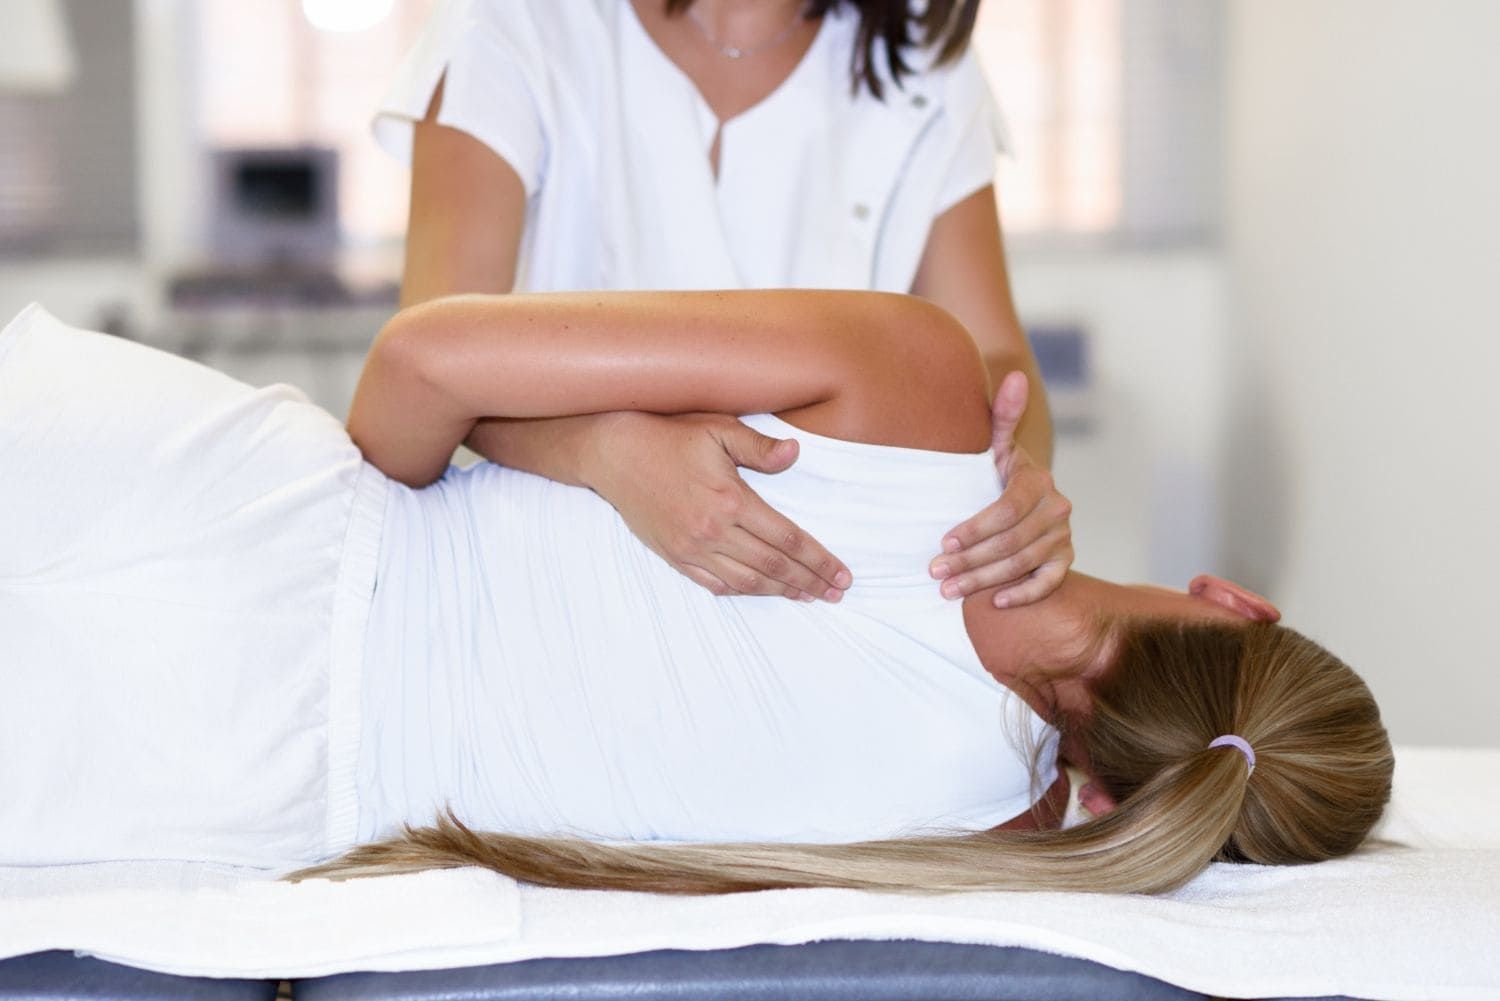
- A chiropractor can help with mechanical spinal misalignment, joint restriction, and movement retraining once you're cleared for hands-on care.
- Urgent care or your OB should see you the same day for heavy bleeding, fever, or a hot, swollen, or draining incision.
Bring a simple symptom timeline to your appointment: when the pain started, what makes it worse, and which exercises you've already tried. Ask directly whether your core is ready for more load and what specific movement is safe to add next.
Integrating Home Exercise With In-Clinic Care
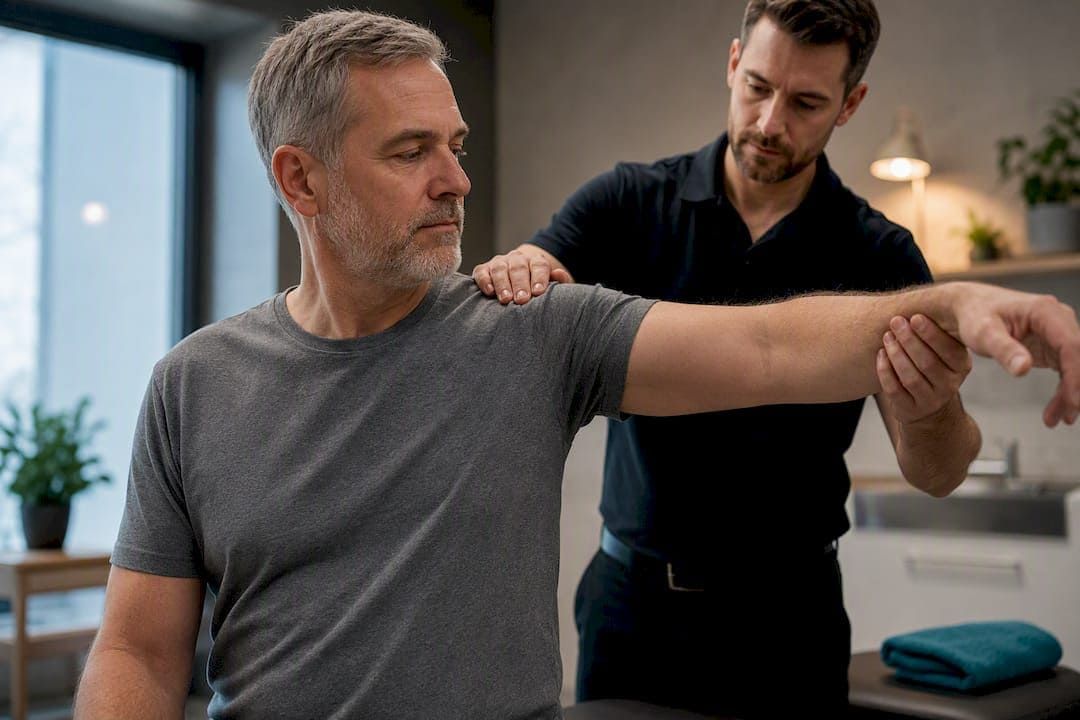
Home exercises rebuild the pattern. Hands-on care speeds up the parts a mirror can't fix. Combining the two, breath-first core work at home with targeted manual therapy and movement retraining in clinic, tends to get people back to normal function faster than either approach alone.
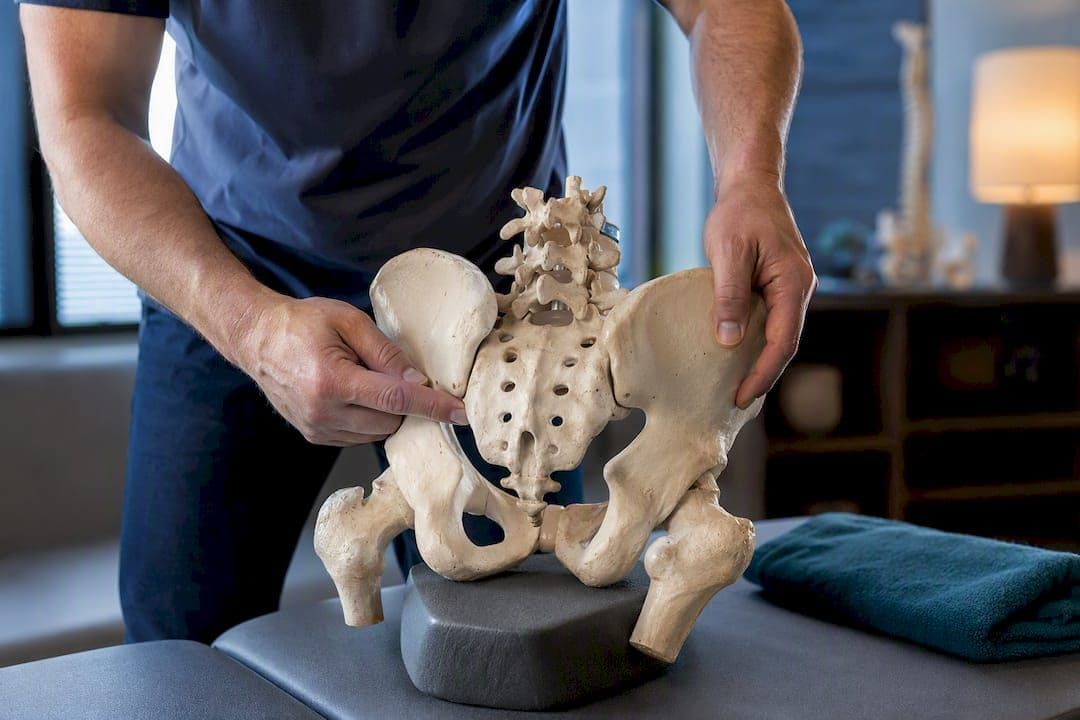
Individualized plans often combine manual therapy to address joint restriction and muscle tension, therapeutic exercise to reinforce home routines, and a rehabilitation plan that adjusts as the body changes week to week. A short in-clinic assessment can catch things a checklist can't, like which side of your pelvis is more restricted, or why your bird-dog keeps loading one hip more than the other, and personalize your progression from there instead of leaving you to guess.
Get a Personalized Plan for Postpartum Back Pain Relief
If the pain has stuck around past a few weeks, or you're not sure whether an exercise is helping or making things worse, a hands-on assessment answers that question faster than another week of trial and error. A next step for postpartum patients seeking more than a printed handout is an individualized plan built around actual recovery, not a generic checklist.
A first visit typically includes an assessment of your spine, pelvis, and core function, followed by a plan that pairs manual therapy with therapeutic exercise progressions tailored to how your body is healing right now. That combination matters most for readers dealing with diastasis recti, C-section recovery, or pain that hasn't budged despite doing "all the right exercises" at home. Clinic care fills the gap that a video or article can't: someone watching your movement pattern and adjusting it in real time.
Explore chiropractic care or the physical rehab program to see what a tailored postpartum recovery plan looks like, and book an evaluation at a location near you to get a plan built around your own timeline.
Sources
For deeper reading, the PMC clinical review on postpartum pelvic and back pain exercises lays out the evidence base behind this routine, ACOG's postpartum care guidance covers medical clearance timing, and OnePeloton's phased core progression offers a practical sequencing model. For hands-on care, see Essential ChiroCare's physical rehab services.
This article is general information, not a substitute for advice from a qualified doctor. Consult a qualified healthcare professional about your own circumstances before acting on anything here.
FAQ
What Helps Lower Back Pain After Giving Birth?
Breath-first deep-core activation, pelvic tilts, glute bridges, and bird-dog exercises are the most consistently supported approach for postpartum low back pain. Pairing these with better lifting and nursing posture usually produces faster relief than exercise alone.
How Can I Relieve Postpartum Upper Back Pain?
Upper back pain after birth is usually driven by hunched feeding posture, so thoracic rotations, cat-cow, and shoulder mobility drills tend to bring quick relief. Adjusting your nursing setup, bringing the baby to you instead of leaning forward, addresses the root cause instead of just the symptom.
Is It Normal to Have Back Pain 5 Days After Giving Birth?
Yes, mild to moderate back pain in the first days and weeks postpartum is common, driven by hormonal joint laxity, core weakness, and new lifting demands. Pain that's worsening rather than improving, or comes with numbness, heavy bleeding, or leaking, warrants a call to your provider rather than waiting it out.
When Does Relaxin Go Away Postpartum?
Relaxin levels drop significantly in the weeks after delivery, but joint laxity it caused can linger for months while your body rebuilds stability through the core and pelvic floor. That's part of why breath-first, progressive strengthening matters more than jumping back into high-impact activity too soon.
When Can I Start Core Exercises After a C-Section?
Gentle diaphragmatic breathing and pelvic tilts are often fine within the first couple of weeks, but most people need 6 to 8 weeks or longer before adding load to the abdominal wall. ACOG recommends an individualized postpartum visit to confirm your incision and core are ready before progressing further.
Recommended